MagTube Upgrade (discontinued Classic ProTube to MagTube upgrade)

UPGRADE PROTUBE TO MAGTUBE
|
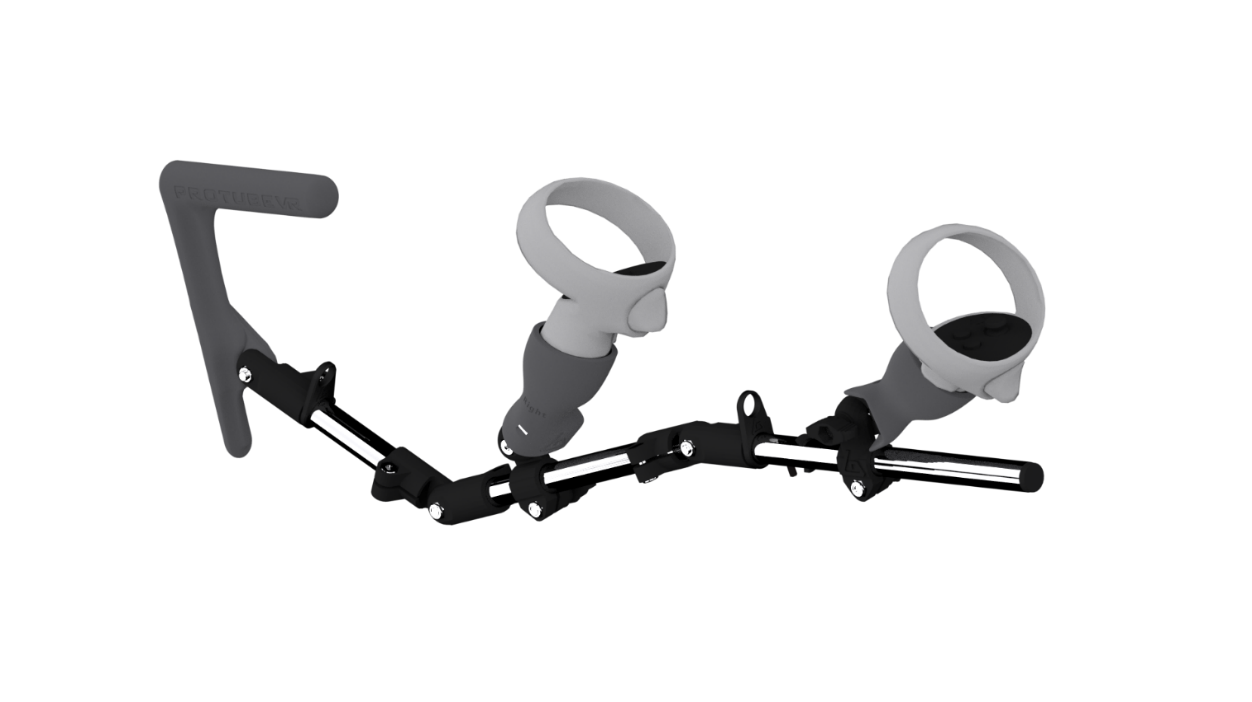
Hello, fellow gamer! If you are reading this, you are willing to upgrade your ProTube to the magnetic version, the MagTube. And increase your comfort while playing. We will help you to do it! The MagTube allows you to detach the controllers (and its MagCups) from the frame without having to take the controllers off the cups. We invite you to join our Discord community for any questions or directly contact us through our support service on our website.
Upgrading your ProTube to a MagTube should take 10 minutes. For video setup, you can check our YouTube Playlist. First, make sure you work in a clear area and be very careful. Some parts can get lost easily. Thank you for choosing the best Virtual Reality stock rifle solution. But do not trust us by word, try it. And most importantly, enjoy your games! Page 2 |
Bonjour, camarade joueur ! Si tu lis ceci, tu es prêt à mettre à niveau ton ProTube vers la version magnétique, le MagTube. Et augmenter ton confort de jeu. Nous allons t’aider à le faire ! Le MagTube te permets de détacher les manettes (et ses coupelles magnétiques) de l’armature sans avoir à retirer les manettes des coupelles. Nous t’invitons à rejoindre notre communauté Discord pour toute question ou à nous contacter directement via notre service d'assistance sur notre site web.
L’amélioration de ton ProTube vers le MagTube devrait prendre 10 minutes. Pour voir le tutoriel vidéo, tu peux consulter nos playlists sur YouTube. Avant tout, assure-toi de travailler dans une zone dégagée et sois très prudent, certaines pièces peuvent se perdre facilement. Merci d'avoir choisi la meilleure solution de fusil pour Réalité Virtuelle. Et surtout, profite de tes jeux ! Page 4 |


Feel the game!
english version
Upgrade parts Tools
|
|
|
|
|
|
|||||
|
x2 |
X1 |
X1 |
x1 |
x1 |
|||||
|
Right & Left controller holders |
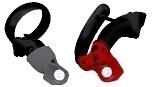
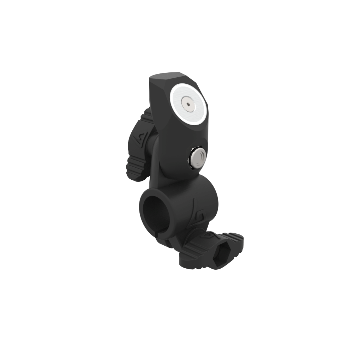
Notched magnetic Support |
Smooth bracket |
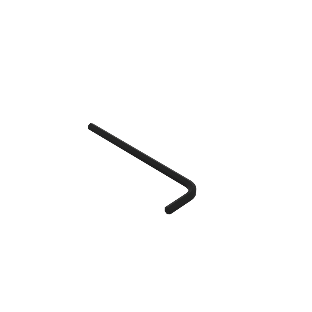
Hex Key 4mm |
Hex Key 2,5mm |


Step 1: dismentle the fix cups
|
You need to remove the fix cups on your ProTube using the provided larger Allen key. Make sure to keep all screws and bolts. |
|
|
What you need for the rear MagCup (medium tube):
|
|
|
|
|
|
|
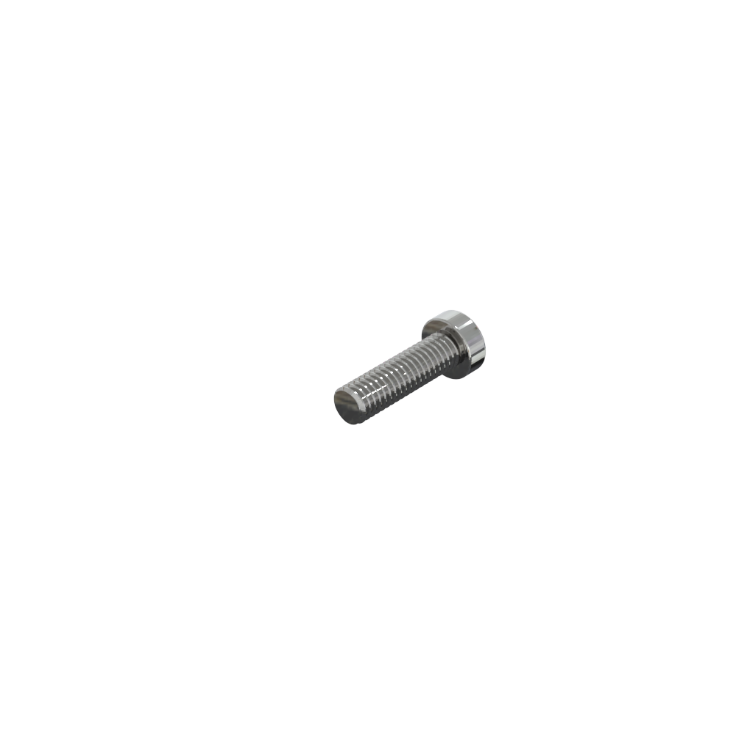
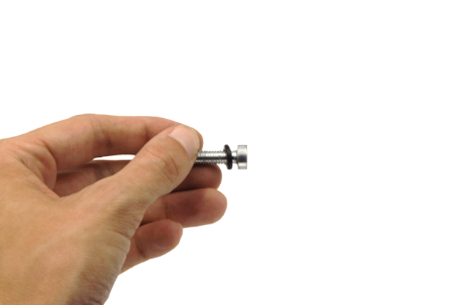
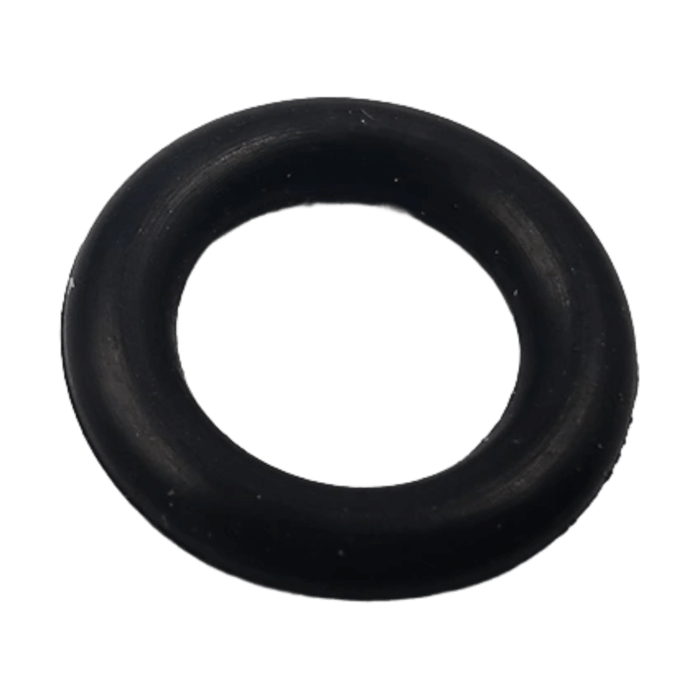
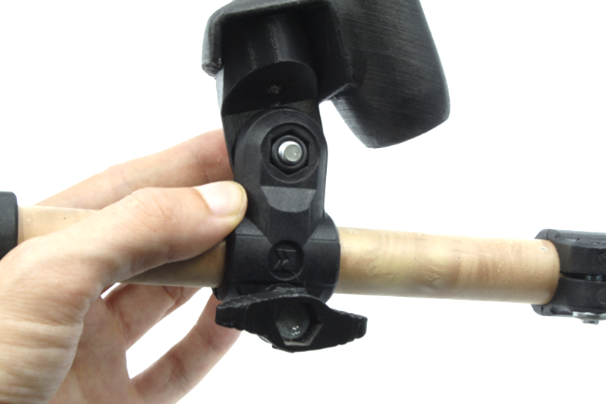
Put the O’ring on the 20mm screw. |
Pass the screw and O-ring through the notched magnetic support. |
Join the notched magnetic support and the T-notched connection and add the second |
|
|
||
|
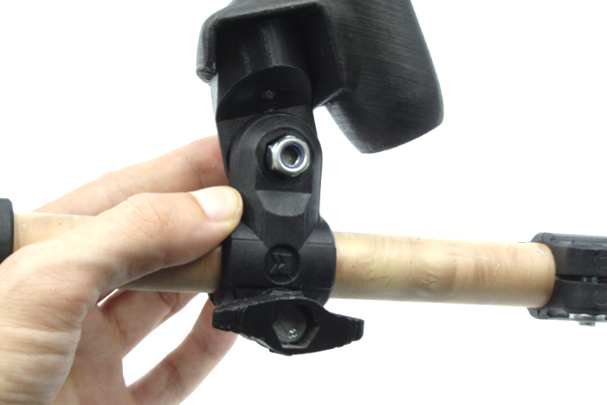
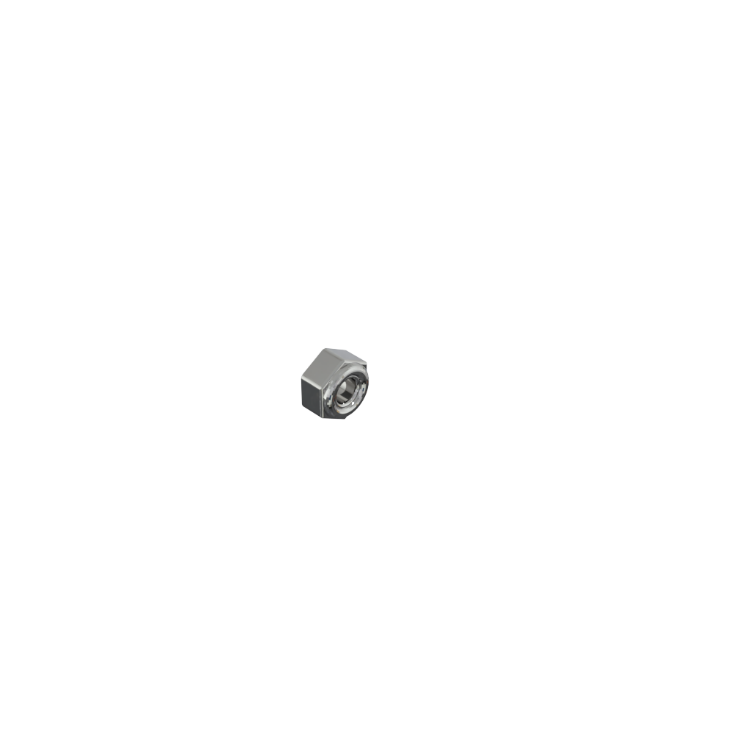
Add the nut and tighten, the magnetic support must be able to move, though. |
||


|
|
What you need for the front MagCup (longer tube):
|
|||
|
|
||||
|
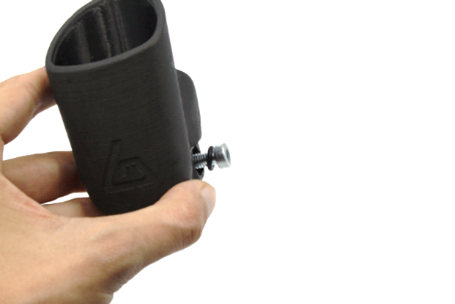
Remove the old smooth 3D printed T-connection from the front longer tube. |
Replace it with the new magnetic bracket. |
|||
|
|
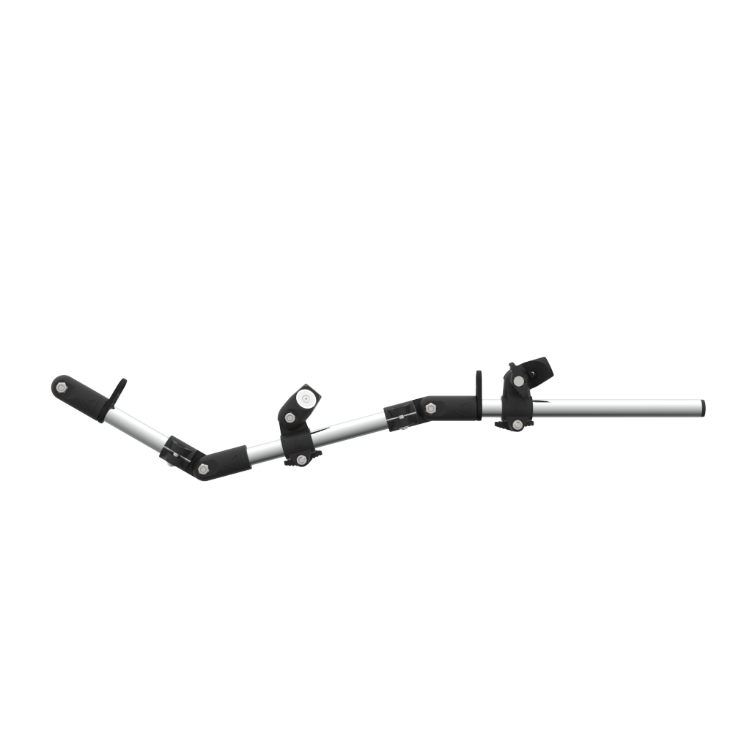
You can now install your new magnetic controller holders (MagCups). Congrats, you have a complete MagTube. |
|||


Version française
Composant de l’upgrade Outils
|
|
|
|
|
|
|||
|
x2 |
X1 |
X1 |
x1 |
x1 |
|||
|
Coupelles magnétiques droite & gauche |
Tenon magnétique cranté |
Support magnétique lisse |
Clé hexagonale 4mm |
Clé hexagonale 2,5mm |


étape 1 : Démonte la coupelle fixe
|
Il faut enlever les coupelles fixes de ton ProTube en utilisant la plus grosse des deux clés Allen fournies. Assure-toi de bien garder toute la visserie. |
Etape 2 : La coupelle magnétique Arriere
|
|
Ce dont tu as besoin pour la coupelle arrière (tube moyen) :
|
||
|
|
|
|
|
|
Mets un joint torique sur la vis de 20mm. |
Passe la vis et le joint torique dans le support magnétique cranté. |
Rassemble le tenon magnétique cranté et le raccord en T crantée et ajoute le dernier joint torique. |
|
|
|
|||
|
Ajoute l’écrou et visse à l’aide de la clé Allen fournit, le tenon magnétique doit pouvoir bouger pour le réglage. |
|||


Etape 3 : La coupelle magnétique Avant
|
|
Ce dont vous avez besoin pour la coupelle avant (tube long) :
|
||||
|
|
|||||
|
Enlève le raccord en T lisse imprimé en 3D du plus grand tube avant. |
Remplace-le avec le nouveau support magnétique. |
||||
|
|
Pose tes coupelles aimantées sur les supports. Félicitation, tu as maintenant un MagTube complet. |
||||

No Comments