Gunstock MagTube ForceTube Mounting instructions EN FR

Gun Stock Setup Instruction
|
Hello, fellow gamer! If you are reading this, you laid your hands on one of our Gun Stocks. MagTube Rifle, with Classic Stock. Or ForceTube Rifle, with Haptic Recoil Stock. For both of them, you will use the same following steps to build your Gun Stock. The images represent a classic Stock, but this is the same for a ForceTube Haptic Stock. We invite you to join our Discord community for any question or directly contact us through our support service on our website.
Mounting your MagTube / ForceTube Gun Stock should take 1h30m. For video setup, you can check our YouTube Playlists. First, make sure you work in a clear area and be very careful, some parts can get lost easily. Thank you for choosing the best Virtual Reality stock rifle solution. But don’t take our words for it, try it. And most importantly, enjoy your games! |
Bonjour, camarade joueur ! Si tu lis ceci, c’est que tu as mis la main sur l’un de nos fusils pour la Réalité Virtuelle. Fusil MagTube, avec crosse classique. ou Fusil ForceTube, avec crosse haptique. Pour les deux, tu suivras les mêmes étapes pour construire ton fusil. Les images représentent une crosse classique, mais c'est la même chose pour une crosse haptique ForceTube. Nous t’invitons à rejoindre notre communauté Discord pour toute question ou à nous contacter directement via notre service d'assistance sur notre site web.
Le montage de ton fusil MagTube / ForceTube devrait prendre 1h30. Pour l'installation en vidéo, tu peux consulter nos playlists sur YouTube. Avant tout, assure-toi de travailler dans une zone dégagée et sois très prudent, certaines pièces peuvent se perdre facilement. Merci d'avoir choisi la meilleure solution de fusil pour Réalité Virtuelle. Mais ne nous fais pas confiance sur parole, essaie-le. Et surtout, profite de tes jeux ! |


Feel the game!
Bag n°1
|
|
|
|
|
|
|
|
|
x1 |
x1 |
x2 |
x1 |
x2 |
x1 |
x1 |
|
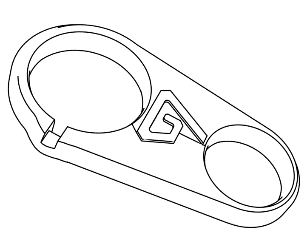
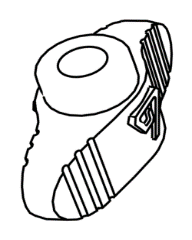
Ring |
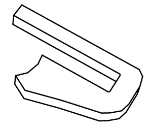
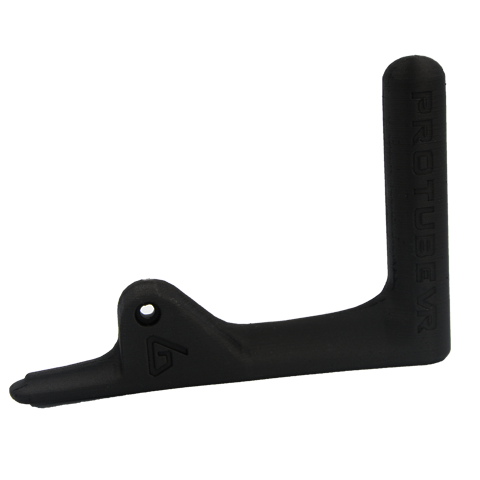
Wedge |
Connection with internal notches |
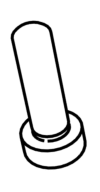
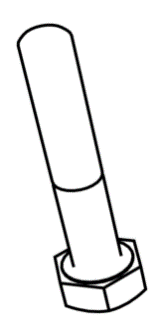
20mm screw |
O'ring |
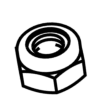
Nut |
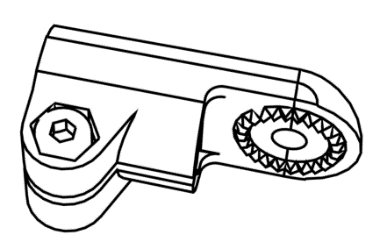
Notched washer |


Bag n°2
|
|
|
|
|
|
|
|
|
|
x2 |
x1 |
x1 |
x1 |
x1 |
x1 |
x4 |
x2 |
|
Connection with external notches |
T-noched connection |
Hex screw |
Butterfly |
Hex washer |
20mm screw |
O'ring |
Nut |


Bag n°3
|
|
|
|
|
|
|
|
|
|
|
|
x1 |
x1 |
x1 |
x1 |
x2 |
x2 |
x2 |
x2 |
x1 |
x2 |
|
Ring |
Wedge |
Connection with internal notches |
T-noched connection |
Hex screw |
Butterfly |
O'ring |
Nut |
Rubber washer |
Hex washer |


Bag n°4
|
|
|
|
x1 |
x1 |
|
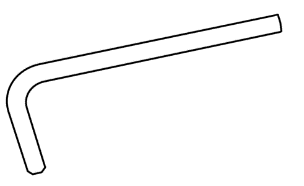
Hex Key 0,4cm |
Hex Key 0,25cm |

MagTube - Rest of the box
|
|
|
|
|
|
|
|
|
|
x1 |
x1 |
x1 |
x1 |
x2 |
x2 |
x1 |
x1 |
|
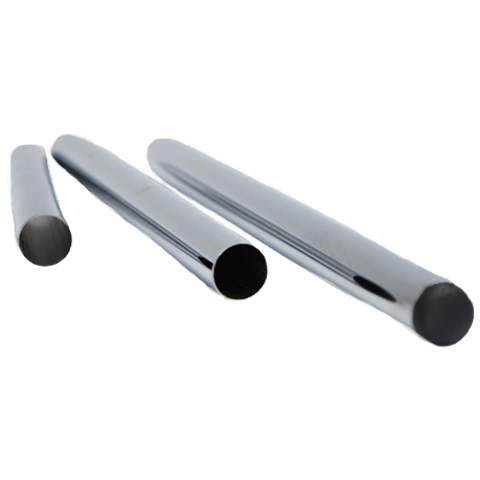
Tube 130mm |
Tube 200mm |
Tube 250mm |
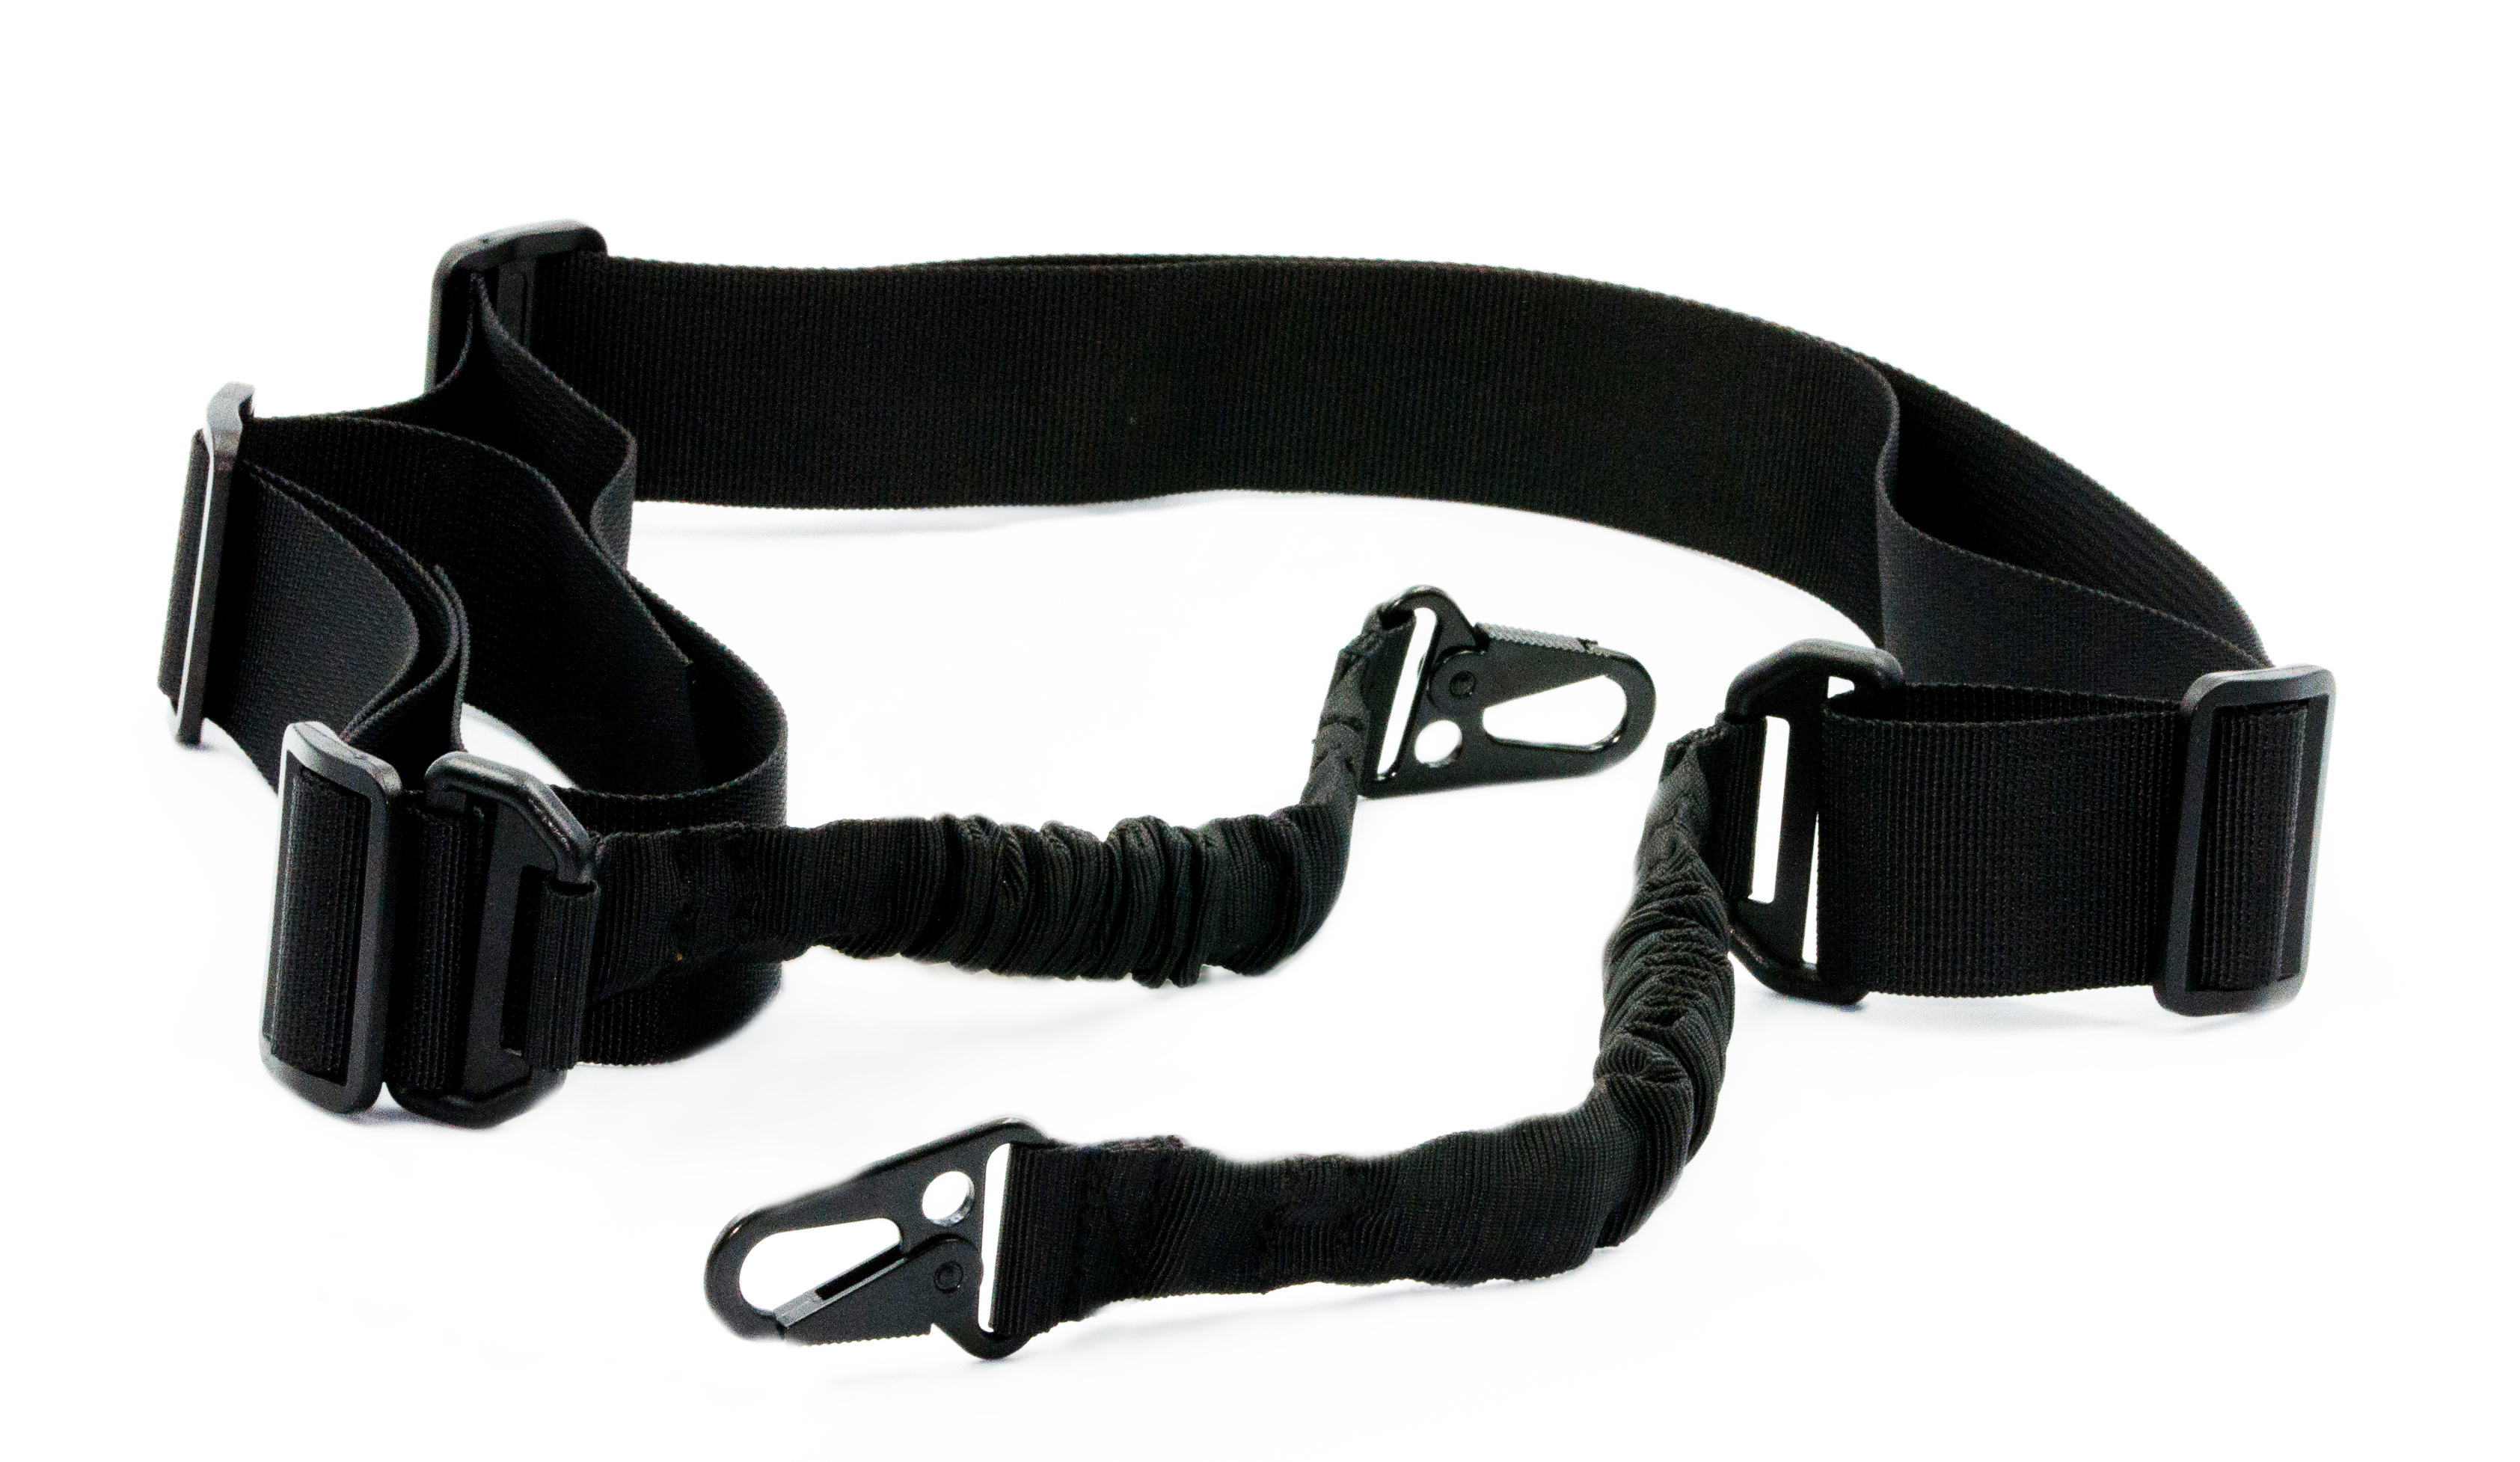
1 point or 2 points sling |
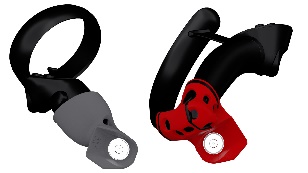
Left & Right MagCups |
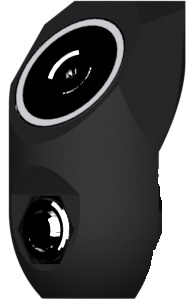
Magnetic Supports |
Classic Stock |
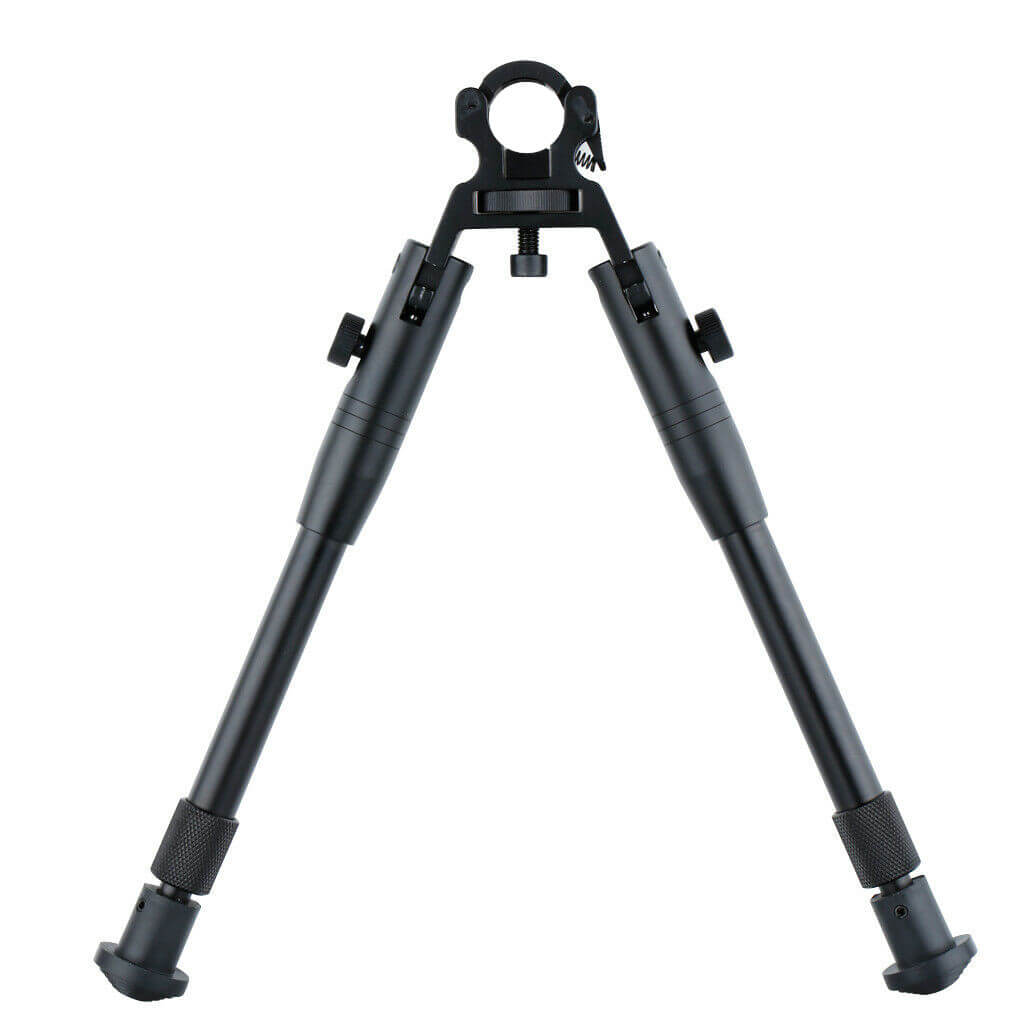
Optional : Bipod |


ForceTube - Rest of the box
|
|
|
|
|
|
|
|
x1 |
x1 |
x1 |
x1 |
x2 |
x2 |
|
Tube 130mm |
Tube 200mm |
Tube 250mm |
One Point or Two Points sling |
Left & Right MagCups |
Magnetic Support |
|
|
|
|
|
||
|
x1 |
x1 |
x1 |
x1 |
||
|
Haptic ForceTube Stock |
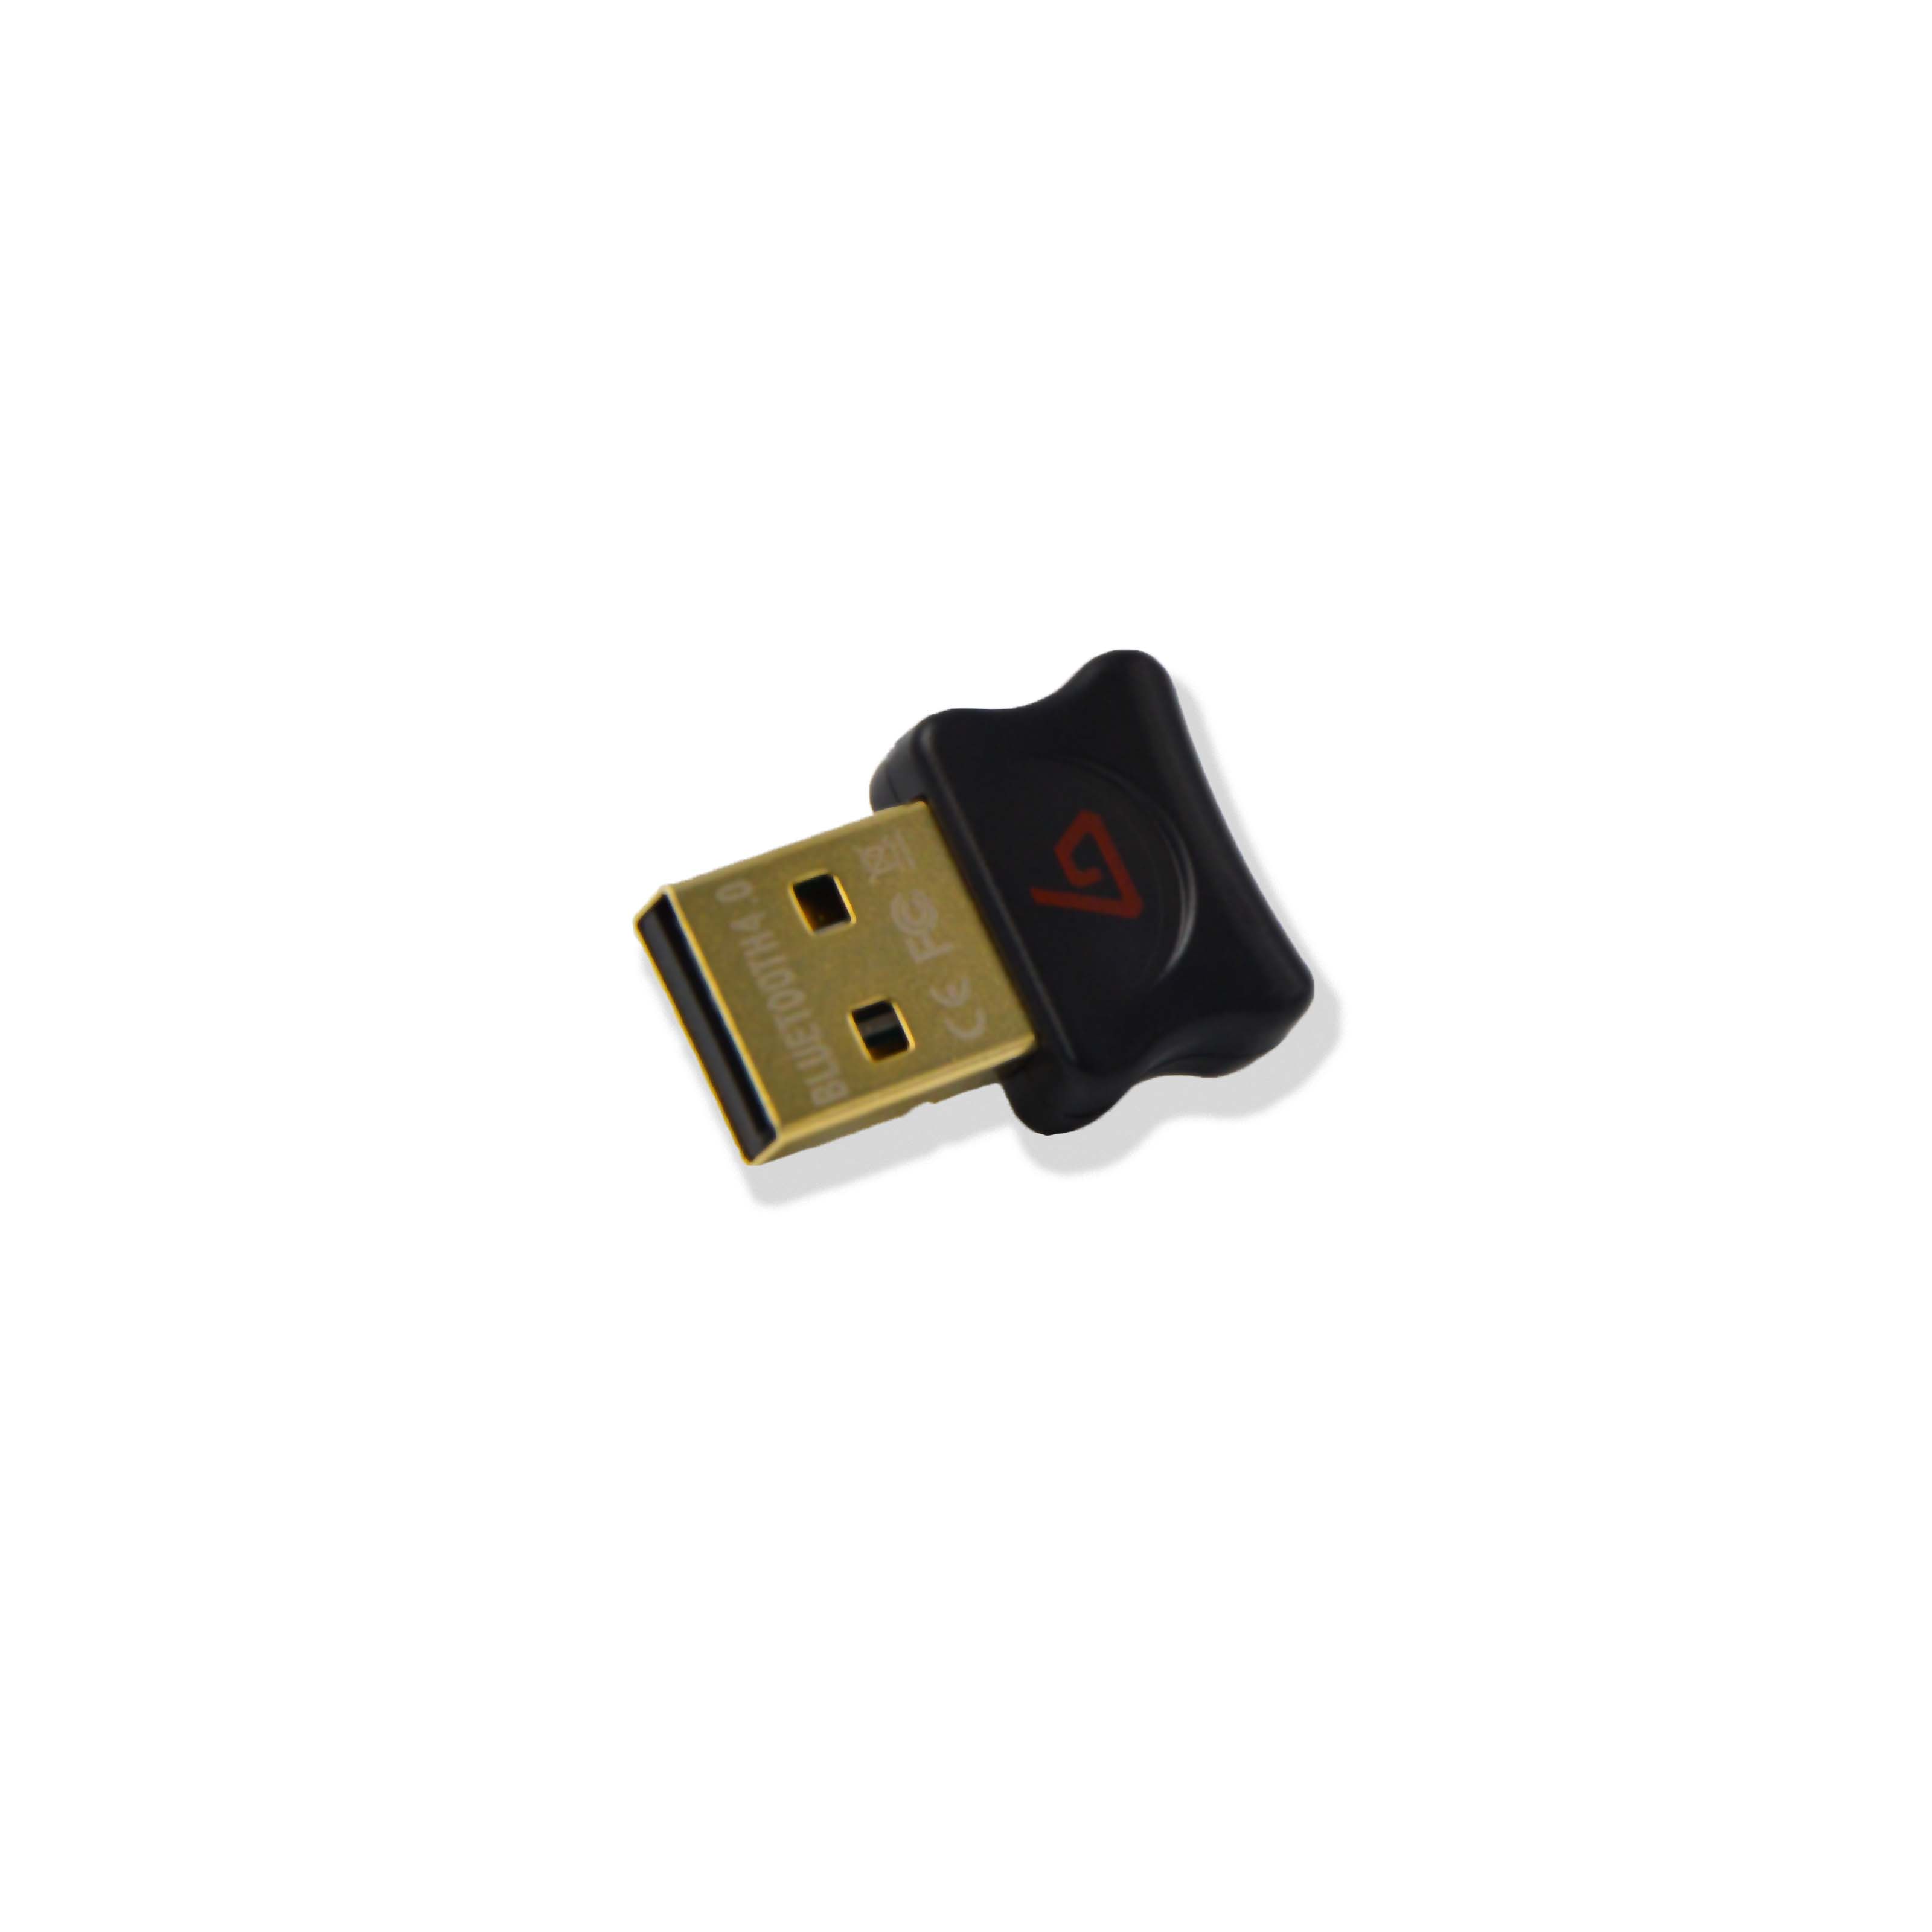
Bluetooth USB Dongle |
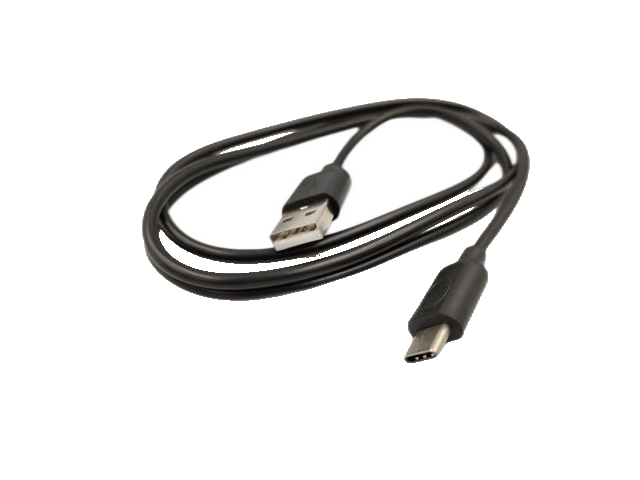
USB-C Charging cable |
Optional : Bipod |


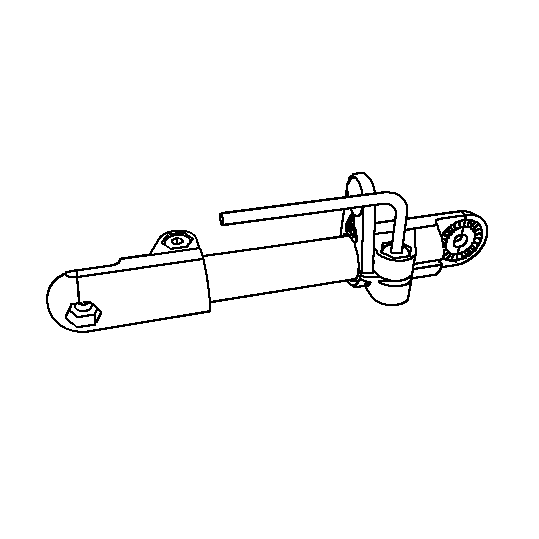
You will need: bag n°1, smallest tube and rifle stock.
|
|
|
|
|
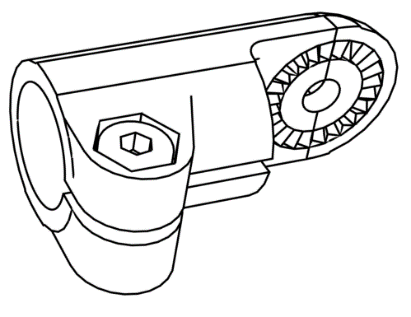
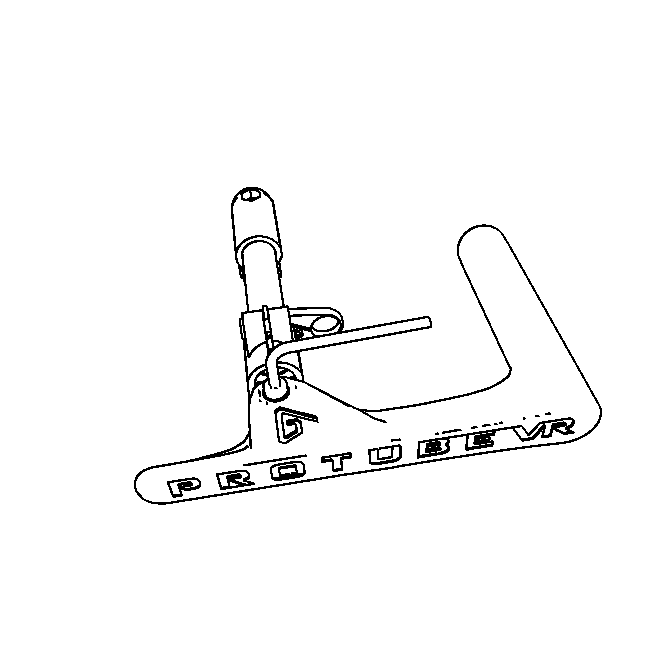
1.a – Put the wedge on the ring and put them both on the smallest tube. (This step is not needed if you have a ForceTube) |
1.b – Put the two connections with internal notches on each part of the small tube and screw them with the Hex key. |
1.c – Apply some oil all around the notches on the connection which is the nearest from the ring. |
|
|
|
|
|
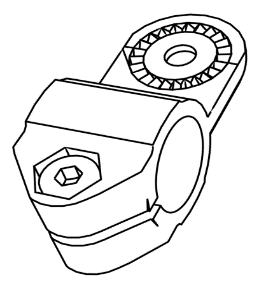
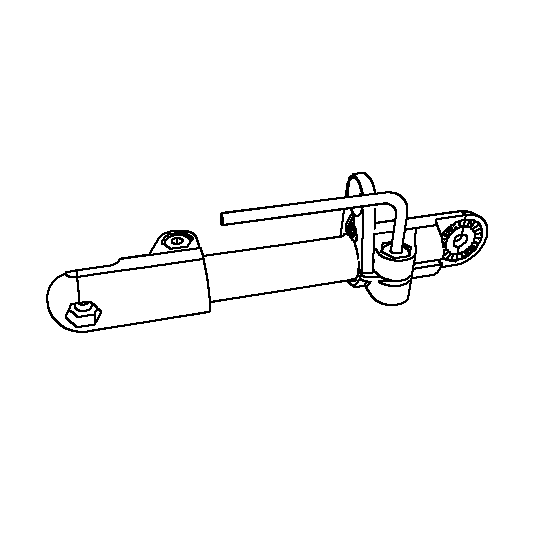
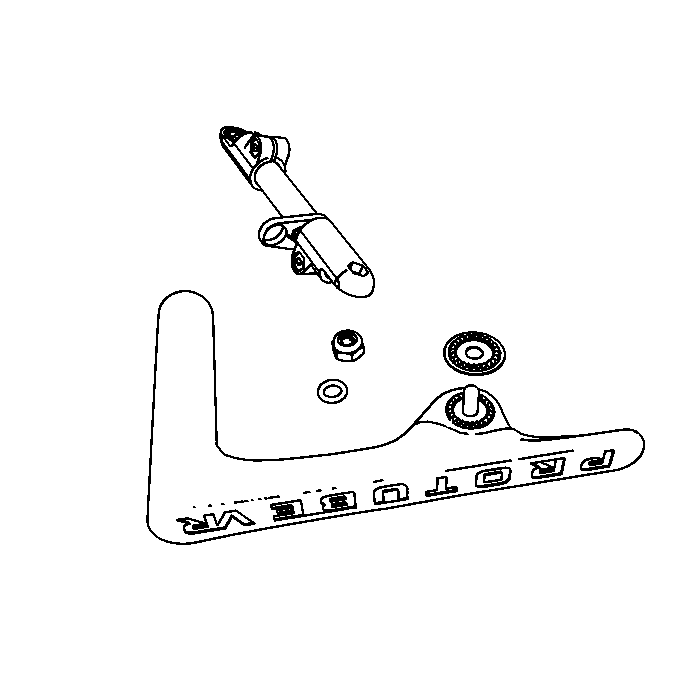
1.d – Put one O’ring on the 20mm screw, slot them both into the hole provided in the stock. |
1.e – Then slide the notched washer (the notches have to be facing the same way) and the previously oiled connection over the screw. |
1.f – Attach the screw securing the stock and the connection with one O’ring and the nut. |
|
|
||
|
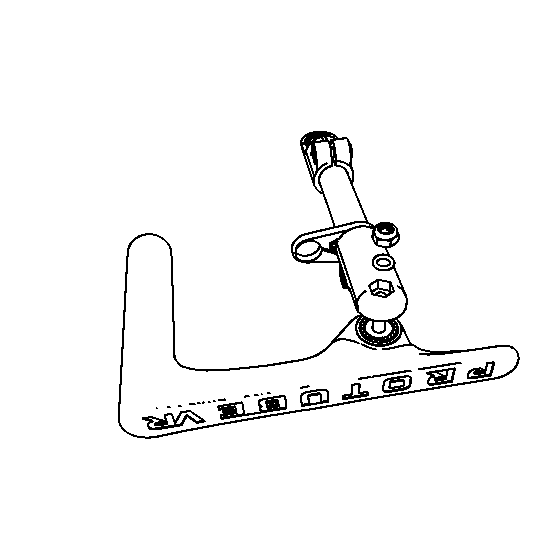
1.g – Screw all the pieces together taking care not to over tighten. You must be still able to rotate the stock by force. |
||


No Comments