
MagTube Upgrade EN
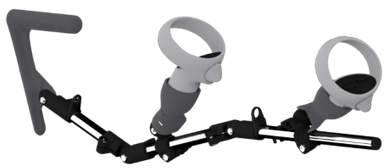
The MagTube allows you to detach the controllers (and its magnetic cups) from the frame without having to take the controllers off the cups, therefore increasing your comfort while playing.
 Upgrading your ProTube to a MagTube should take 10 minutes.
Make sure you work in a clear area and be very careful. Some parts can easily be lost.
PARTS LIST
________________________________________________________________________________________________________________________________________________
| Upgrade Parts | Tools bag | ||||
 |
 |
 |
 |
||
| x2 | x1 | x1 | x1 | x1 | |
| Pair of controller holders (cups) | Notched retainer | Smooth Bracket | Hex Key 4mm | Hex Key 2,5mm | |
Step 1: Dismantle the fixed cups
________________________________________________________________________________________________________________________________________________
You need to remove the fix cups on your ProTube using the provided larger Allen key.
Make sure to keep all screws and bolts.
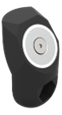
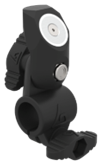
STEP 2: The rear magnetic cup
________________________________________________________________________________________________________________________________________________
     |
||
|
What you need for the rear MagCup (medium tube):
|
||
....................................................................................................................................................................................................................................................................................
 |
 |
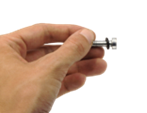
| Put the O-ring on the 20mm screw. | Pass the screw and O-ring through the notched magnetic support. |
 |
 |
| Join the notched magnetic support and the T-notched connection and add the second O-ring. | Add the nut and tighten, the magnetic support must be able to move though. |
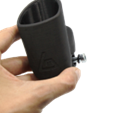
STEP 3: The front magnetic cup
________________________________________________________________________________________________________________________________________________
 |
||
|
What you need for the front MagCup (longer tube):
|
||
....................................................................................................................................................................................................................................................................................
|
|
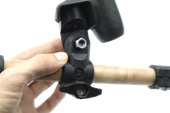
| Remove the old smooth 3D printed T-connection from the front longer tube. Replace it with the new magnetic bracket. The magnet must face the other way to the rear magnetic bracket (ex: to the left if you are right-handed). |

________________________________________________________________________________________________________________________________________________
 |
|
You can now install your new magnetic controller holders (cups). Congrats! You now have a complete MagTube. |