
ProVolver Setup EN test
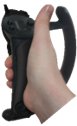
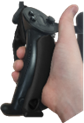
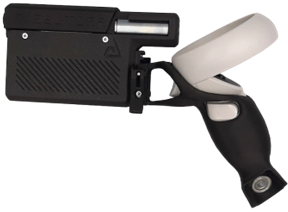
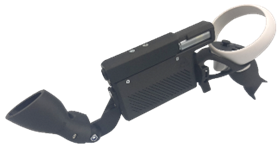
You got your hand on a ProVolver. With this, you will increase your immersion while playing.
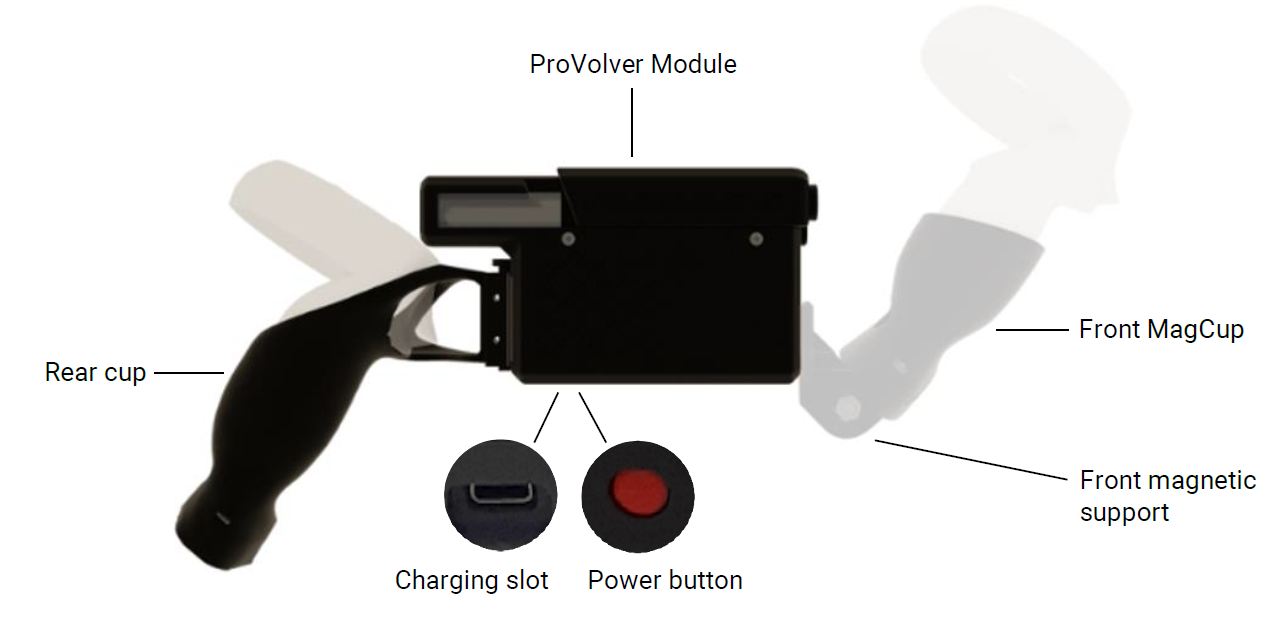
The ProVolver allows you to feel the handguns in your games. You can use it with one hand or with two hands with the front extension.
 Setting up your ProVolver should take 10 to 20 minutes.
First, make sure you work in a clear area and be very careful. Some parts can get lost easily.
Parts list
....................................................................................................................................................................................................................................................................................
| Content of the box |
||||
 |
 |
 |
 |
|
| x1 | x1 | x1 | x1 | x1 |
| ProVolver haptic Module | ProVolver rear controller mount (cup) | ProStrap | Charging cable USB to USB-C | USB Bluetooth dongle |
....................................................................................................................................................................................................................................................................................
| If you took the front extension |
|||
 |
 |
||
| x1 | x2 | x1 | x1 |
| Front magnetic bracket | M4x12 screw | Controller mount (cup) | ProStrap |
....................................................................................................................................................................................................................................................................................
| Tool bag |
|
 |
 |
| x1 | x1 |
| Hex Key 0,4cm | Hex Key 0,25cm |
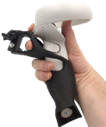
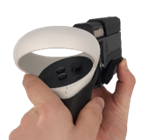
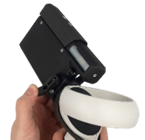
Step 1: Slot the controller into Main up
________________________________________________________________________________________________________________________________________________
 |
 |
 |
 |
| For Quest | For Valve Index |
For Quest: Part 1
Slide the controller into the Cup. If you chose the right-handed version, put the right controller in and vice versa.
For Quest: Part 2
For Rift S, Quest 1, 2, 3, 3S & Pro, you need to press the trigger to introduce and remove the controller from the cup.
For Valve Index: Part 1
Detach the strap’s string from the controller and put the cup into the controller’s handle, like shown in the picture above.
For Valve Index: Part 2
Just clip the controller in the cup and put back the strap’s string through the cup and controller.
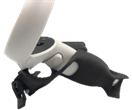
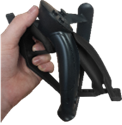
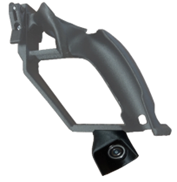
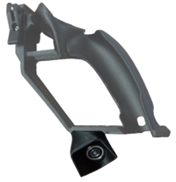
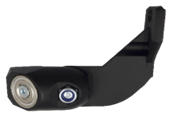
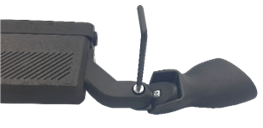
Step 2: Attach the Main cup to the ProVolver
________________________________________________________________________________________________________________________________________________
Make sure the clamps are loosened (see picture above). Place one side of the female rail on the male rail.
Then clip the other side of the female rail (it can be a little tricky at first since the piece is not shaped yet).
Clip the first clamp. Use the provided Allen key to loosen the screw and adjust the tightness. Do the same on the other side to lock the module.
If you got the ProVolver for valve Index, there will be a magnetic add-on provided. You will need it only if you choose to use it with a MagTube or ForceTube. You can fix it forward or backward or in the middle, as you prefer.
Note: if you install it before trying to fit the controller in, you will not be able to. Neither will you be able to remove it. You will need to remove the magnetic part beforehand.
Congratulations! Your ProVolver is now ready to use.
If you use your ProVolver single handed, you can refer to the Haptic documentation to connect it to your wireless Headset or PC.
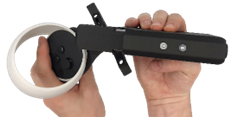
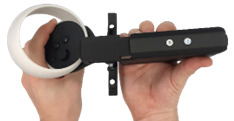
If you took the front magnetic bracket in option to use the ProVolver as a two handed weapon, keep following this tutorial.
(note to Tao: pay attention to each image in this section, none of the red indicators are present)
Step 3: Attach magnetic bracket and MagCup (front hand)
________________________________________________________________________________________________________________________________________________


For this last step you will need the front magnetic bracket and both M4x12 screws*.
*The screws are either on the magnet or in the “Tools” bag.
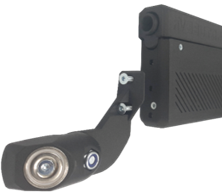
You can place the bracket on either position 1 (higher) or position 2 (lower) as shown above depending on your appreciation.

Screw it in place.
Put the front MagCup on the Magnetic support.
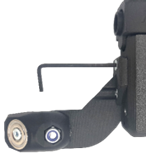
Loosen the screw using the bigger Allen key to adjust it.
This step is outdated, we now provide a thumbscrew for easier adjustment.
Slot the controller in the MagCup. Adjust your front hand in game and tighten the screw back.
Congratulations! Your ProVolver is now ready to be paired.
You can now follow the Haptic documentation to connect it to your gear and enjoy the recoil in your favorite shooters!
(note to Tao: pay attention to each image, like previous section)
________________________________________________________________________________________________________________________________________________