
Starter Switch Side instructions EN Test

Starter
Hello, fellow gamer!
If you are reading this, you want to switch the laterality of your Starter CQB. And we will help you do it!
We invite you to join our Discord community for any question or directly contact us through our support service on our website.

This process should take 10 minutes.For video setup, you can check our YouTube Playlists.
This tutorial shows right-handed to left-handed. Left-handed to right-handed use the same steps, you will just need to follow them in mirror. First, make sure you work in a clear area and be very careful. Some parts can get lost easily.
STEP 1: FASTENED TO MAGNETIC CUP
________________________________________________________________________________________________________________________________________________
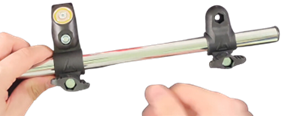
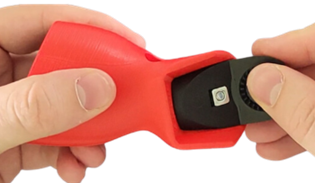
Remove the fastened cup using the bigger Allen key, and detach the magnetic cup.
Keep all parts, you will need them to assemble the cup back.
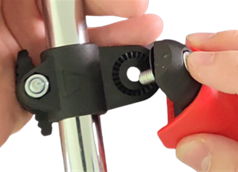
Exchange the position of both connections.
The butterfly screws must be on the same side.
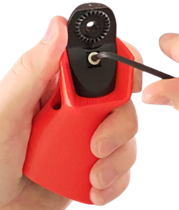
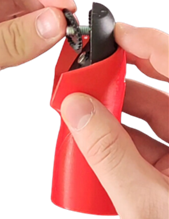
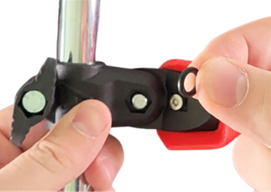
Unscrew the black support on the fastened cup using the medium Allen key.
Take care not to lose the square nut on the back of the cup.
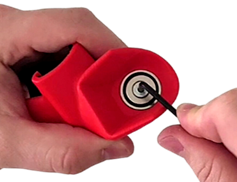
Remove the magnet from the cup using the smaller Allen key, and screw it to the other cup.
Take care not to lose the square nut on the back of the cup.
You now have your magnetic cup for the other hand.
STEP 2: MAGNETIC TO FASTENED CUP
________________________________________________________________________________________________________________________________________________

You removed the magnet on the previous step. Screw the black support back on the cup that has no magnet.
Take care not to lose the square nut on the back of the cup.
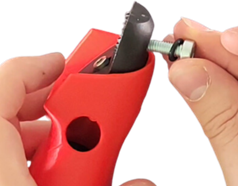
Put the screw with the O-ring back on the black support.
Place the notched washer on the screw.
Put them in the T-connection.
Place the second O-ring in the hole, around the screw.
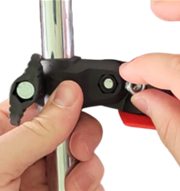
Place the hex nut. Screw them all together.
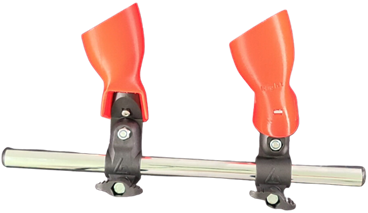
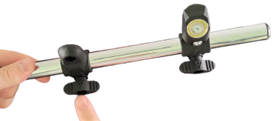
Now you can attach the magnetic cup to the back.
And there you have your left-handed Starter CQB.