| 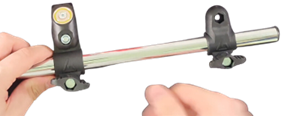 |  |  |
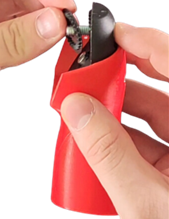
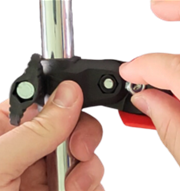
| Remove the fastened cup using the bigger Allen key, and detach the magnetic cup. *Keep all parts, you will need them to assemble the cup back.* | Exchange the position of both connections. *The butterfly screws must be on the same side.* | Unscrew the black support on the fastened cup using the medium Allen key. *Be careful not to lose the square nut on the back of the cup.* |
|  | 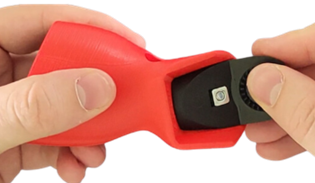 |
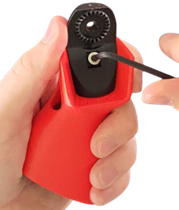
| Remove the magnet from the cup using the smaller Allen key, and screw it to the other cup. *Be careful not to lose the square nut here too.* | You now have your magnetic cup for the other hand. |
|  | 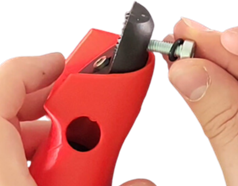 |  |
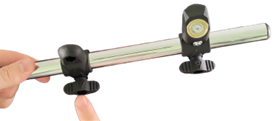
| You removed the magnet on the previous step. Screw the black support back on the cup that has no magnet. *Take care not to lose the square nut.* | Put the screw with the O-ring back on the black support. | Place the notched washer on the screw. |
| 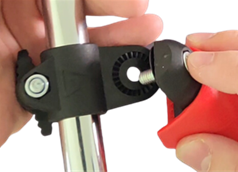 | 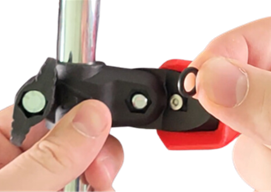 |  |
| Slot them in the T-connection. | Place the second O-ring in the hole, around the screw. | Place the hex nut. Screw them all together. |
| 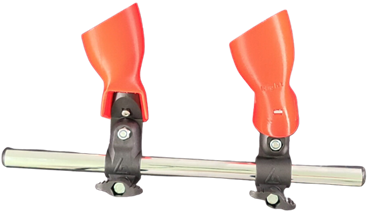 |
| Now you can attach the magnetic cup back. **And there you have your left-handed Starter CQB.** |