| Hello, fellow gamer! If you are reading this, you are willing to enhance your Pro/Mag-Starter and increase your comfort while playing. And we will help you to do it! The Cross-Starter allows you to aim in-game even more precisely than the Mag-Starter. We invite you to join our [**Discord**](https://discord.com/invite/kAsGHs2) community for any question or directly contact us through our [**support service**](https://protubevr.com/en/content/6-customer-support-hub) on [**our website**](https://www.protubevr.com/).  Upgrading to the Cross-Starter should take you 5 minutes. For video setup, [you can check our YouTube Playlists](https://www.youtube.com/channel/UCnrBJ8KQE3-JQrwVBib7J-w). First, make sure you work in a clear area and be very careful. Some parts can get lost easily. **Page 2** | Bonjour, camarade joueur ! Si tu lis ceci, c’est que tu es prêt à améliorer ton Pro/Mag-Starter et à augmenter ton confort de jeu. Et nous t’aiderons à le faire ! Le Cross-Starter te permet de viser en jeu avec encore plus de précision que le Starter. Nous t’invitons à rejoindre notre communauté [**Discord**](https://discord.com/invite/kAsGHs2) pour toute question ou à nous contacter directement via notre [**service d’assistance**](https://protubevr.com/fr/content/6-hub-du-support-client) sur notre [**site web**](https://www.protubevr.com/fr).  L’amélioration vers le Cross-Starter devrait te prendre 5 minutes. Pour la mise en place en vidéo, [tu peux consulter nos Playlists sur YouTube](https://www.youtube.com/channel/UCnrBJ8KQE3-JQrwVBib7J-w). Tout d'abord, assure toi de travailler sur une zone dégagée et sois très prudent. Certaines pièces peuvent se perdre facilement. **Page 3** |
|  |  | 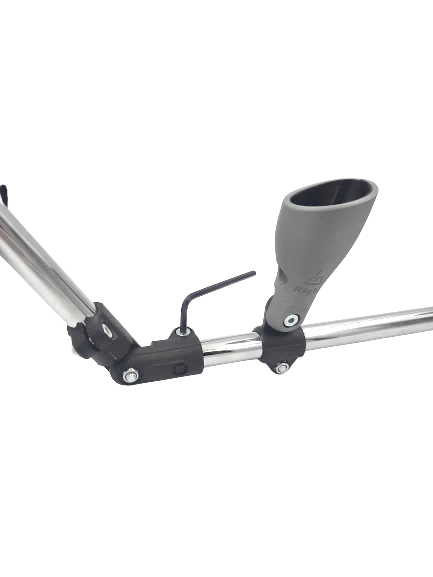 | ||
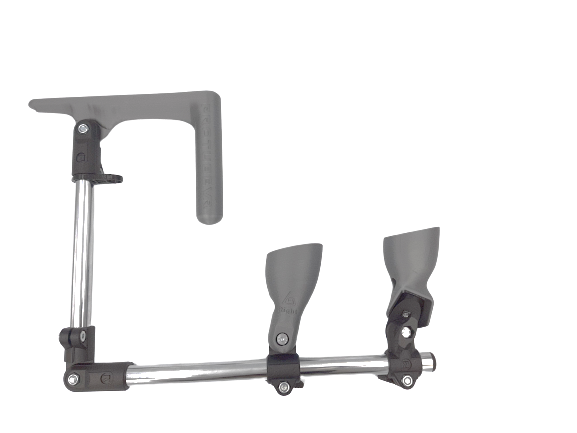
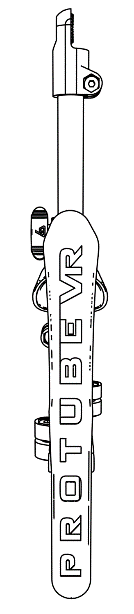
| Insert the Mag-Starter’s tube in the Cross-Starter upgrade’s connector. | You can now see the shape of the Cross-Starter. | Tighten the screw on the connector (not too strong, you do not want to break the part). *(The arrow on the picture is for the last step)* | ||
| 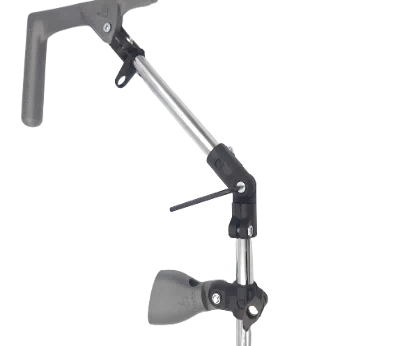 |  | |||
| Slightly tighten the screw that attaches the two connectors. You will need to adjust it later, depending on your playing style. | If you chose the sling option, you just need to attach it to the rubber ring next to the stock. | |||
|  |  | |||
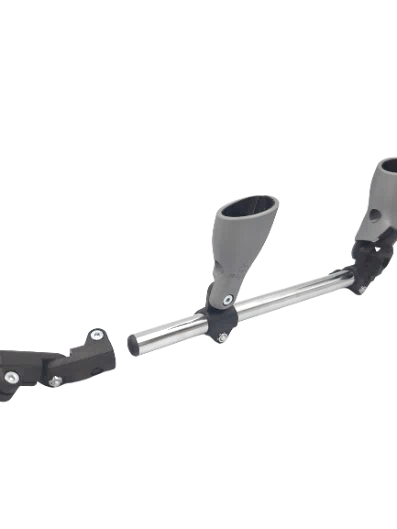
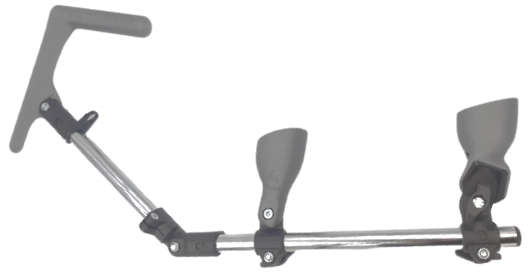
| Fold the Cross-Starter to a 90° angle. | Adjust the tube with the top of the stock and tighten the screw (arrowed in 3rd picture). | |||
|  |  |  | ||
| Insère le tube du Starter dans le raccord de la partie avec la crosse. | Tu peux déjà voir la forme du Cross-Starter. | Serre suffisamment la vis sur le raccord pour que le tube ne bouge plus (pas trop fort, tu ne voudrais pas casser la pièce). *(La flèche est pour la dernière étape)*. | ||
|  | 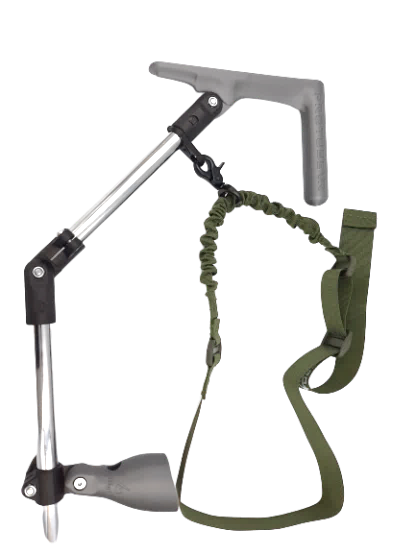 | |||
| Visse légèrement la vis qui attache les deux raccords. Tu auras besoin de l’ajuster plus tard suivant ton style de jeu. | Si tu as pris l’option avec la sangle, il te suffit de la clipser à l’anneau en caoutchouc proche de la crosse. | |||
|  | 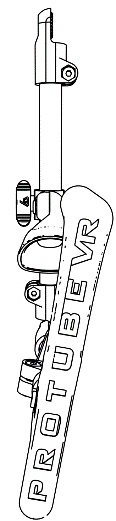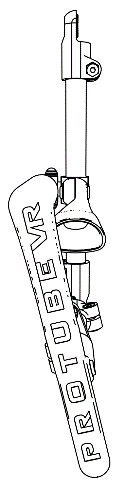 | |||
| Plie le Cross-Starter à 90°. | Ajuste le tube avec le haut de la crosse et serre plus la vis si besoin (fléchée sur la troisième photo). | |||