| **Content of the box | ||||
|  |  |  |  |  |
| x1 | x1 | x1 | x1 | x1 |
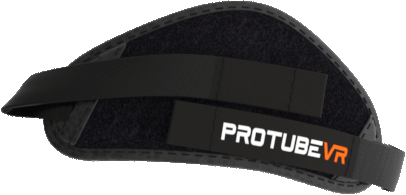
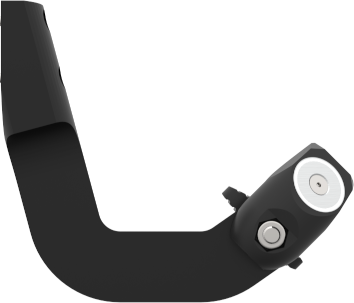
| ProVolver haptic Module | ProVolver rear controller mount (cup) | ProStrap | Charging cable USB to USB-C | USB Bluetooth dongle |
| **If you took the front extension | |||
|  |  |  |  |
| x1 | x2 | x1 | x1 |
| Front magnetic bracket | M4x12 screw | Controller mount (cup) | ProStrap |
| **Tool bag | |||
|  |  | ||
| x1 | x1 | ||
| Hex Key 0,4cm | Hex Key 0,25cm | ||
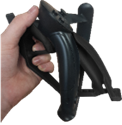
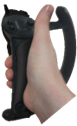
| **For Quest** | |
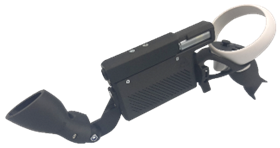
|  | Slide the controller into the Cup. If you chose the right-handed version, put the right controller in and vice versa. |
| 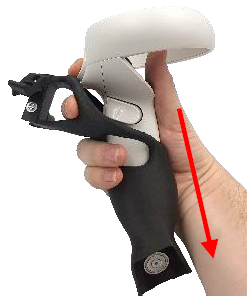 | For Rift S, Quest 1, 2, 3, 3S & Pro, you need to press the trigger to introduce and remove the controller from the cup. |
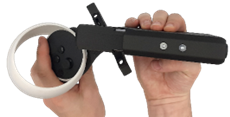
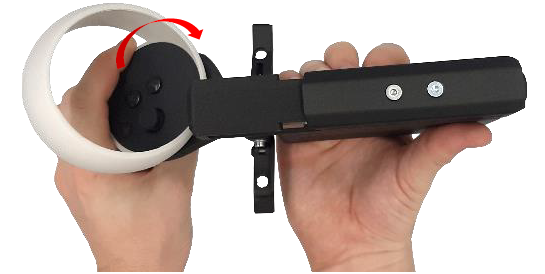
| **For Valve Index** | |
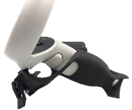
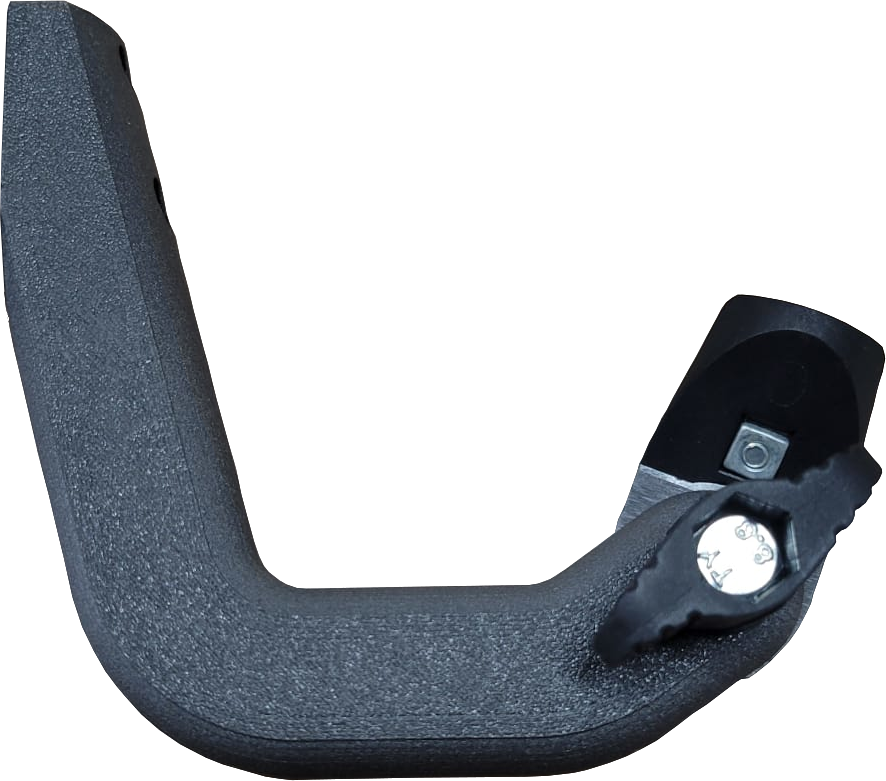
|  | Detach the strap’s string from the controller and put the cup into the controller’s handle, like shown in the picture above. |
|  | Just clip the controller in the cup and put back the strap’s string through the cup and controller. |
|  |  |
| Make sure the clamps are loosened (see picture above). Place one side of the female rail on the male rail. | Then clip the other side of the female rail (it can be a little tricky at first since the piece is not shaped yet). |
|  | ##### **Congratulations!** Your ProVolver is now ready to use. |
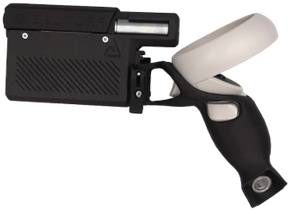
|  | For this last step, you will need the front magnetic bracket and both M4x12 screws. |
| 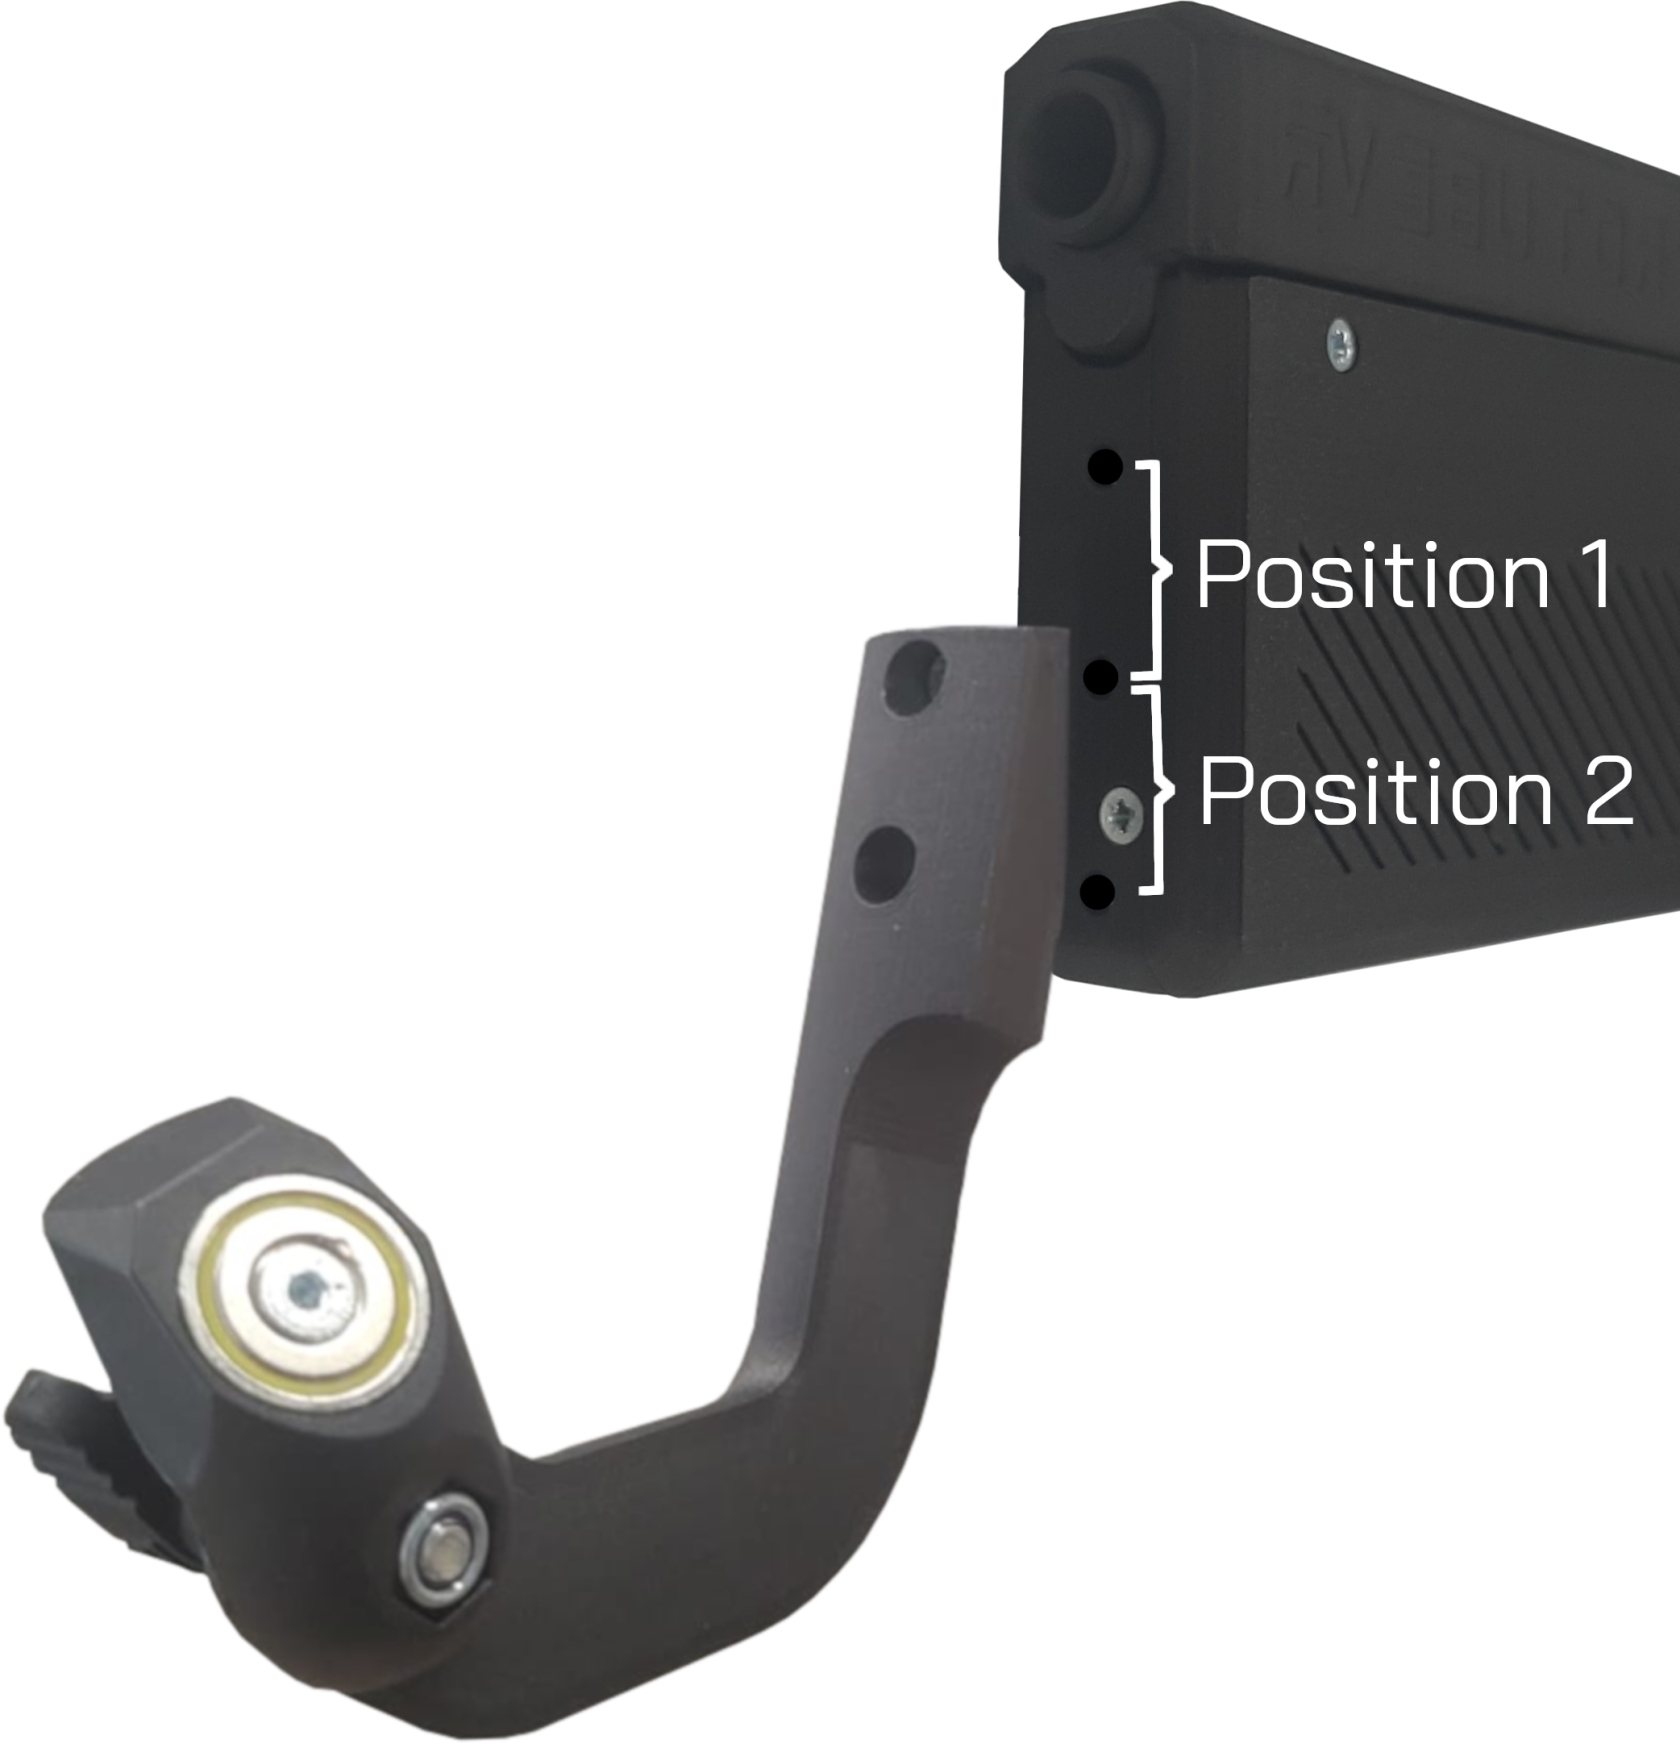 | 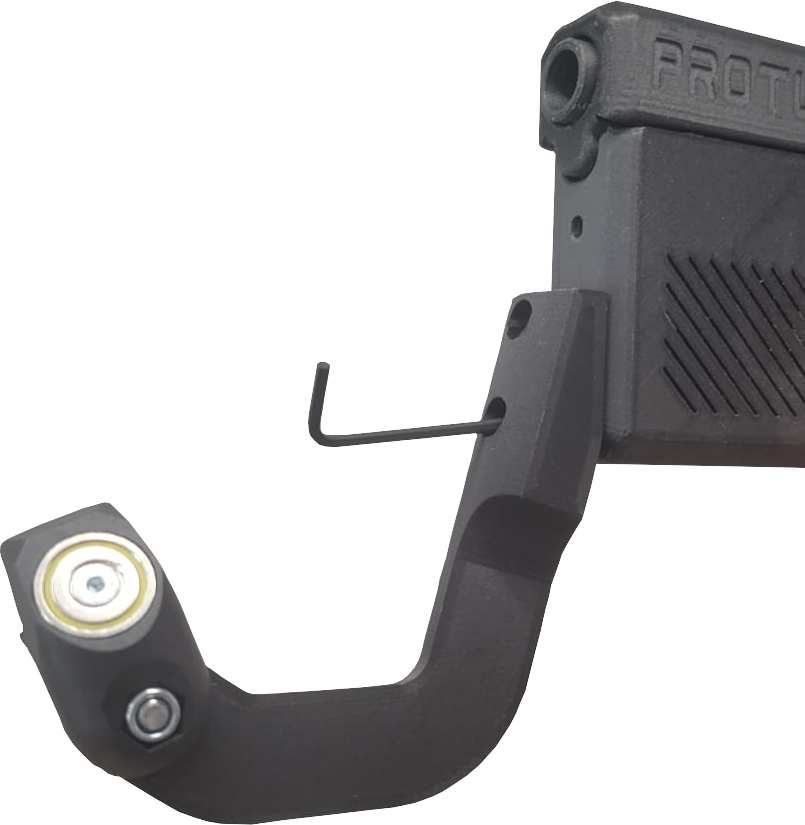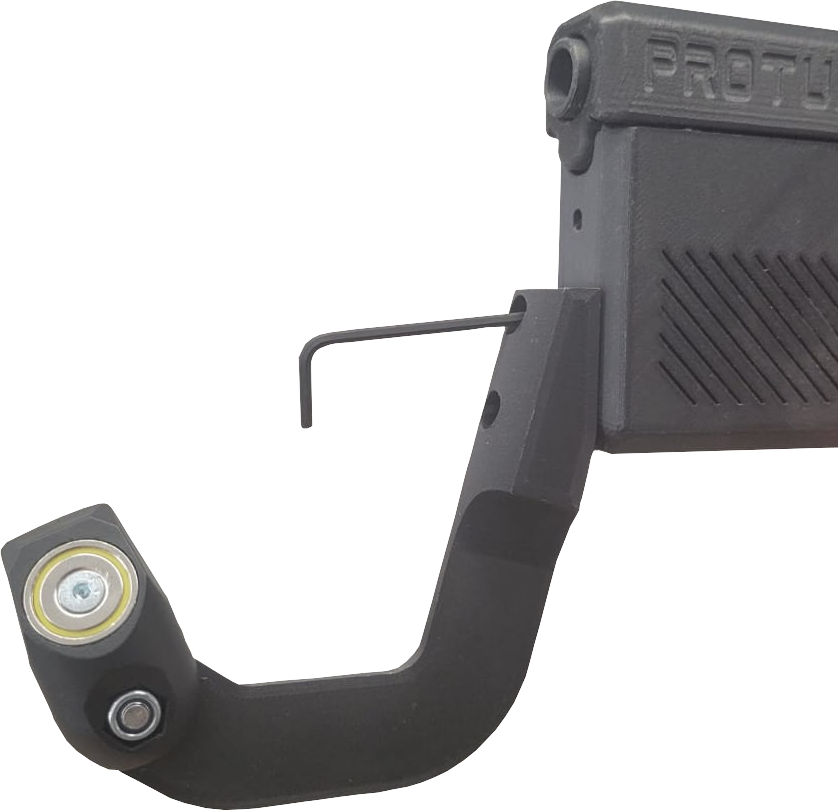 |
| You can place the bracket on either position 1 (higher) or position 2 (lower) as shown above depending on your appreciation. | Screw it in place using the smaller Allen key and both screws. |
|  |  |
| Put the front cup on the Magnetic support. | Loosen the thumbscrew to adjust it. Slot the controller in the cup. Adjust your front hand in game and tighten the screw back. |