| **ProSaber bag** | ||
|  |  |  |
| x2 | x2 | x1 |
| Nut | 20mm screw | Hex Key 0,4cm |
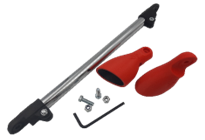
| **Rest of the box** | ||
|  |  |  |
| x2 | x1 | x2 |
| Left & Right Fastened Cup | Tube 300mm chrome or carbon | Connection with internal notches |
|  | 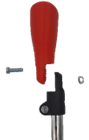 |
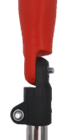
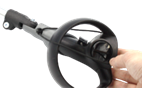
| First, make sure you have everything you need to mount your ProSaber. | The screw needs to go on the cup and the nut on the internal notched connection. |
|  | 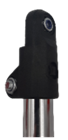 |
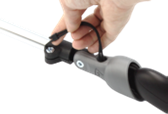
| If you are having trouble inserting the screw on the cup, you can use the Hex key to screw it in. | The nut needs to go on the internal notched connection. |
| 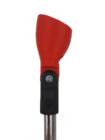 | 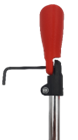 |
| Before tightening the screw, make sure it is aligned with the tube (example for Quest 2). It is preferable to put the controller in the cup to better realize this. | Tighten the screw using the provided Hex key. |
|  | 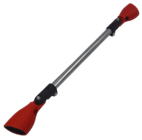 |
| Make sure to tighten it strongly, so the cup won’t move at all. | Do this with the other cup. You now have a fully functioning ProSaber! |
| 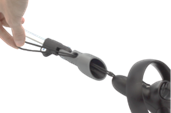 |  | 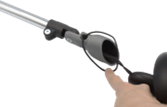 |
| Pass the controller’s wrist strap into the cup’s hole. | The, around the controller. | And finally, under the cup. |
|  | 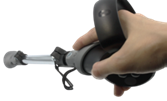 |
| Use the slider to tighten it on the ProSaber. | Push the controller into the cup. The more you push, the more it stays in the cup. Be careful not to push too much, though. It might damage the controller and/or the cups. |