ProSaber Blade
All documentation pertaining to our ProSaber Blade including FAQ, Quick Start Guide, and Tutorials.
Frequently Asked Questions
Get to know the ProSaber better through these frequently asked questions.
ProSaber FAQ
· How do I secure my controllers?
·
1. First, wipe your controllers down to ensure maximum grip inside the cup.
·
2. Second, follow this guide on how to use your controller straps to keep them secure (prompts pdf download). Even if your specific HMD isn't shown, the same concept applies.
·
3. Lastly, in between songs (assuming Beat Saber) push the controllers as far into the cups as possible, so that any movement/looseness from the previous song does not increase risk of controllers falling out during the next song. If you feel like a controller is coming loose don't hesitate to pause and push it back in.
· Do I need a mod for Beat Saber? It is recommended to install the Maulsaber mod, and play songs with dot blocks enabled. If you don't already know how to mod Beat Saber, check this guide.
· What games can I use the ProSaber in? ProSaber is an all-in-one tool to simulate a double-edged sword, dual paddle, two-handed sword, spear, etc. Game examples: Beat Saber, Blade and Sorcery, Kayak VR, Whitewater VR: Extreme Kayaking Adventure.
· How do I reduce tracking issues when using the ProSaber? The majority of tracking issues with ProSaber use stems from running a headset with inside out tracking. This means the front of your headset needs to see the sensor rings of the controllers to know where they are and anything occluding that causes tracking issues as the software tries to guess where the controllers are while trying to find them. In short, change your posture so that the controllers are seen by the headset as much as possible. Lastly, if using a Quest HMD disable handtracking as this is known to cause tracking issues when using VR accessories.
Quick Start Guide
Just got your ProSaber? Read this to learn how to use it like a pro in no time. This basic guide is intended to provide first time owners with the immediate necessary information to go from unboxing to using in game.
Getting Started
Getting Started:
1. After unboxing, get to know your ProSaber. If it is not assembled you will do so now following this guide pdf (prompts download). If you selected carbon tube, there should be latches bolted to the tube near each cup. These are called "strap locks". You will be using those to secure your controller straps (new method introduced with SWINGiT Golf Edition). If you selected chrome, you will be securing your straps using the pre-existing method found in tutorials.
2. On each cup will be writing to indicate if it is for the left or right controller. Underneath either cup, where you see it bolted to the ProSaber, you might also see some more writing indicating which brand the cups are for (i.e. Quest 2). Make sure both cups are lined up properly. On carbon tube, this will be lined up with the strap locks and each other. On chrome tube, this will be lined up with each cup.
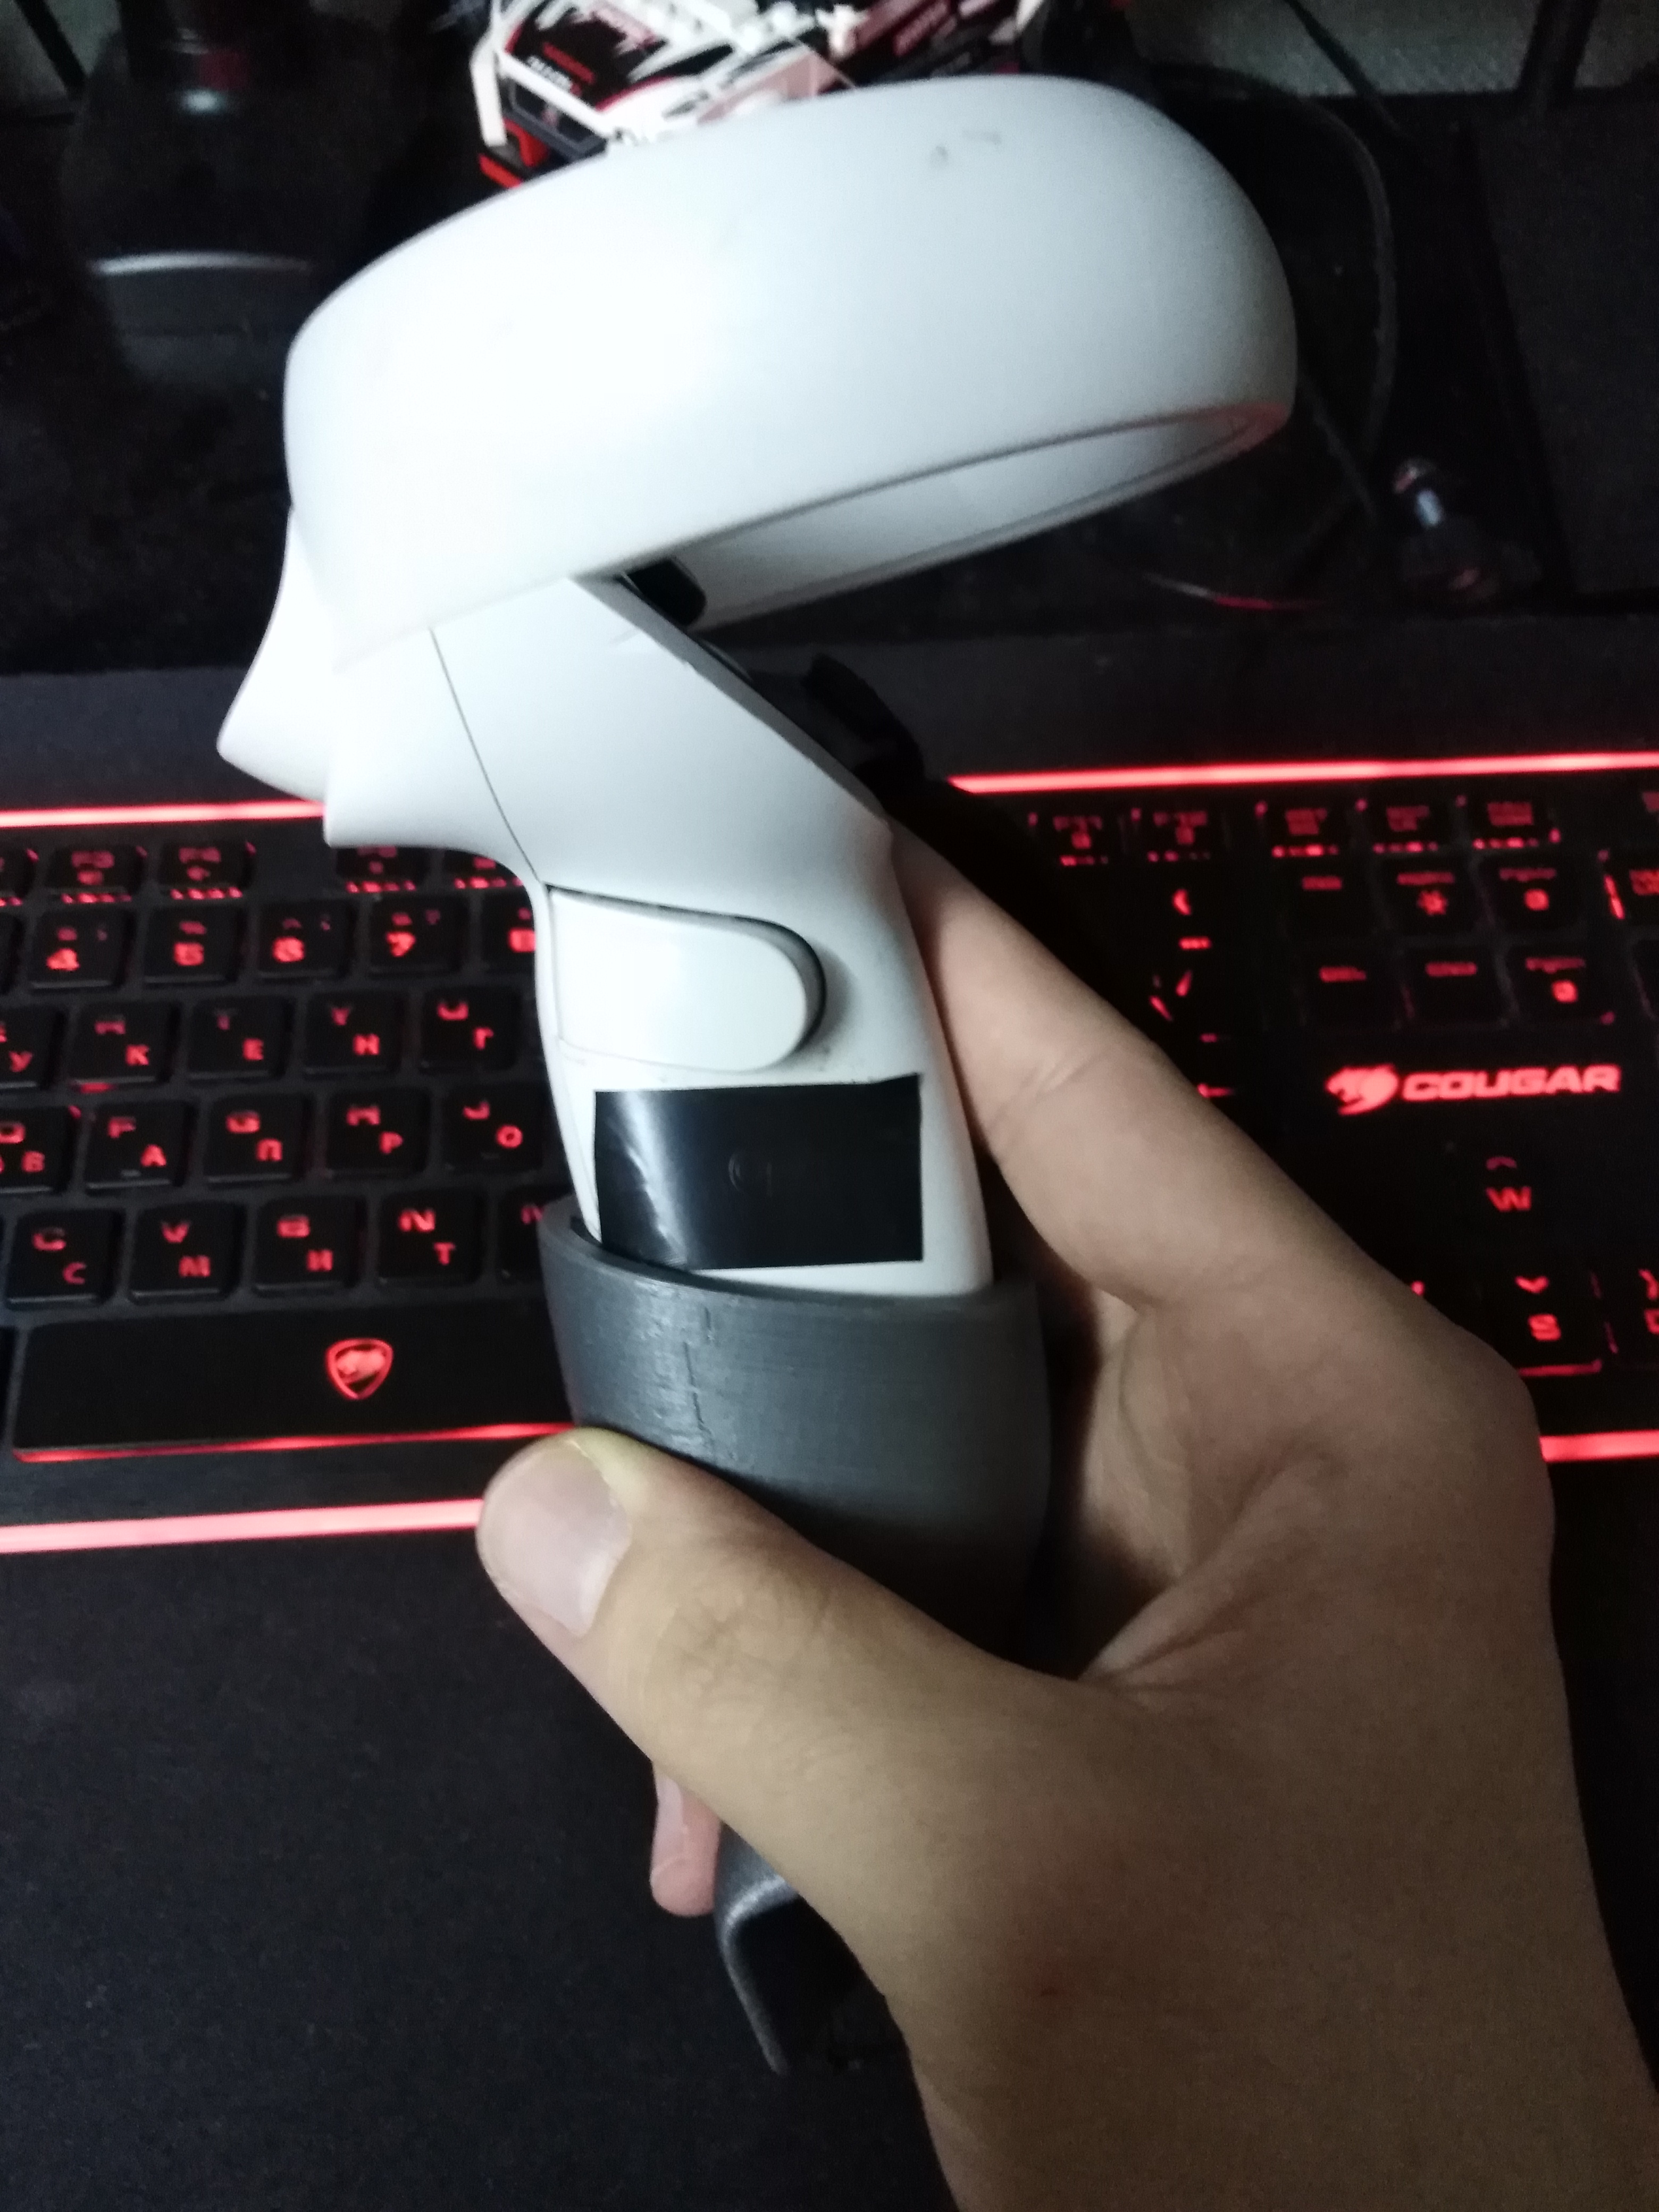
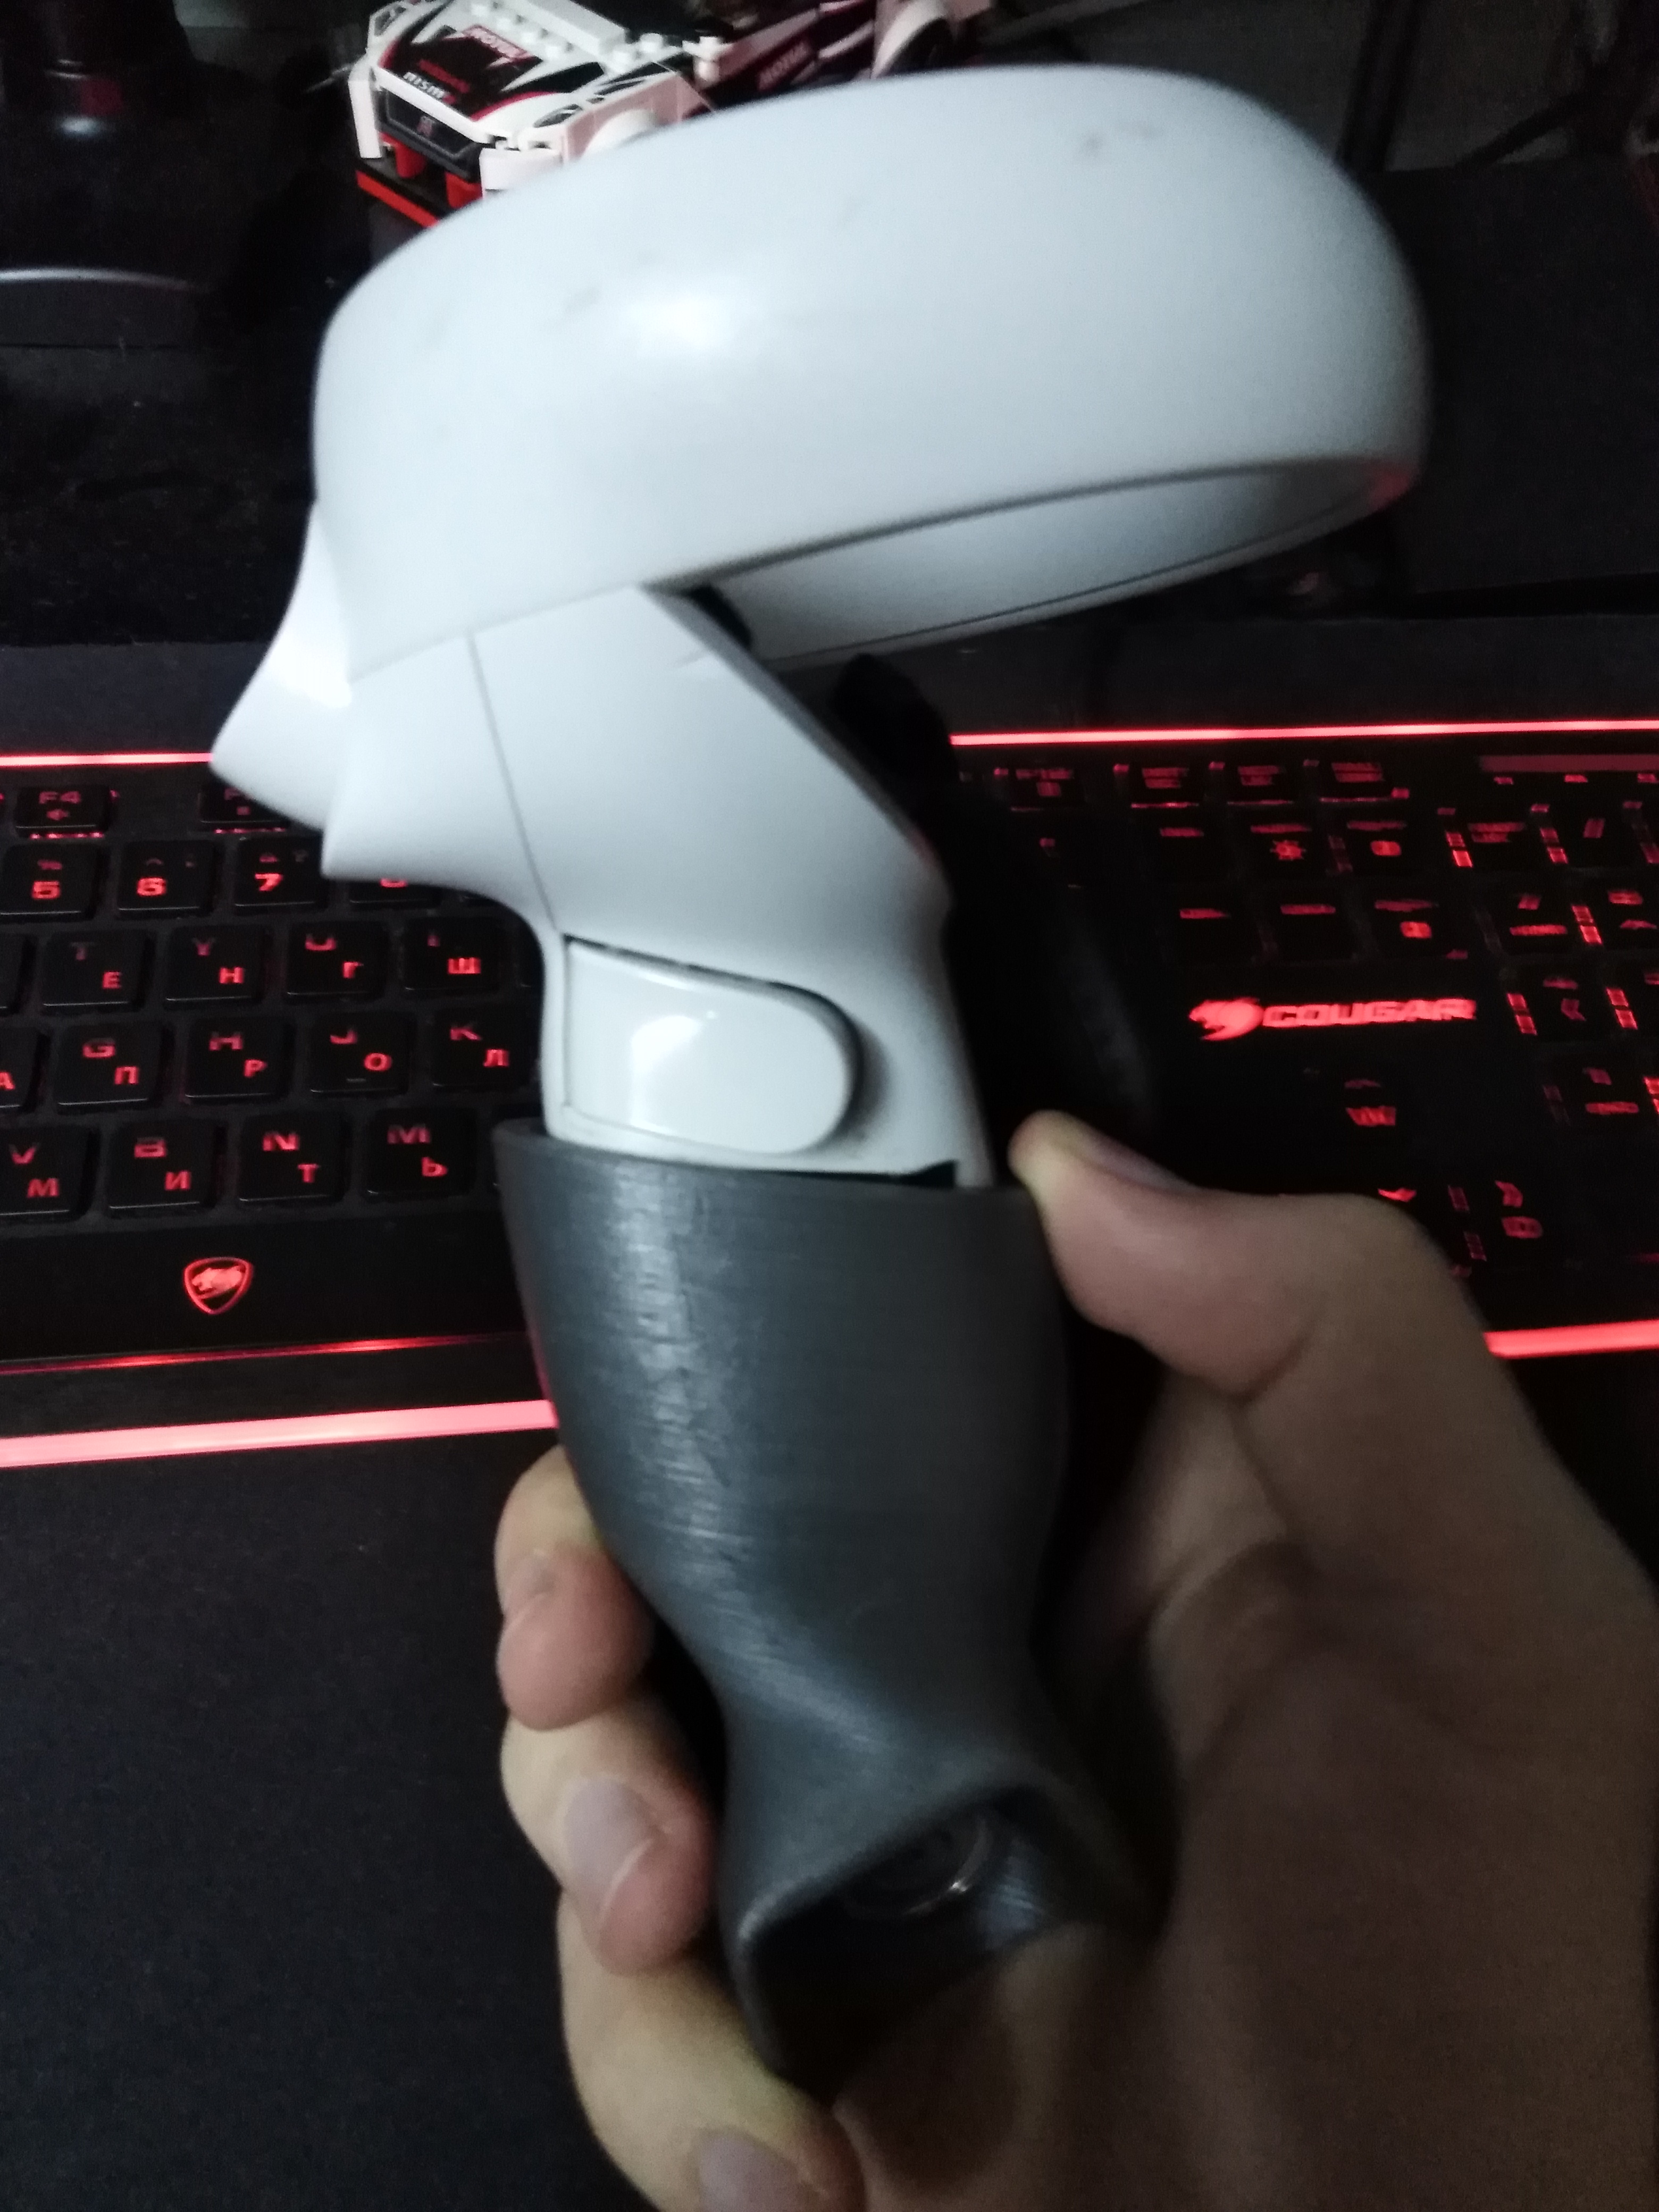
3. Before putting your controllers into the cups, it is suggested to wipe down the part of the controllers that will go inside. This is to ensure optimal friction so they do not slide out easily. Next, observe the small hole in the cup (found on cups for most controller brands). This is intended for feeding the wrist strap through, and should be facing you, or away from the trigger button on the controller. The underneath section of the left cup that is bolted to the ProSaber should be angled towards the right; the right should be angled towards the left.
4. To install, simply start with the wrist strap and feed it through the small hole. Then push the controller into the cup until it cannot go any further. Use of excessive force is not required as it should easily go in until it hits friction, and then with a little bit of force you should be able to continue pushing in until it won't go any further. That is the point at which you should stop and it is considered installed in the cup. Please note: if you are using Index or PSVR 2, we have videos in Website tutorials under Cup.
Securing the Wrist Straps:
1. Follow this guide PDF (prompts download)
Using Your ProSaber For the First Time
1. For this example I will use Beat Saber, which is the primary game most people buy ProSaber for.
2. Load up the game. If you are planning to use Maul Saber mod, have that installed first.
3. Load up any song. Inspect how the sabers appear. Are you satisfied with that alignment? Adjust ProSaber (rotate the cups, or move them forward or backward along their axis) accordingly.
4. For best experience, it is recommended to enable No Arrows. Before loading up a song to play inspect both controllers to ensure they are in the cups firmly, and the straps are secured properly.
5. Play through the song. If at any point in time it starts to feel like either controller is coming loose pause and push it back in again. If all is well throughout the song, push both controllers back in before starting a new one.
6. By regularly pushing the controllers in as far as they can go, you are maintaining maximum friction to keep the controllers secure.
Basic troubleshooting & tips
1. The ProSaber holds the controller in by maintaining friction in the cup, and the wrist strap is secured as a final failsafe should it come loose during use. It is important to maintain that friction. You can do so by wiping the controllers down so they are clean before use, and during use regularly pushing the controllers back in before they come loose.
2. If your headset/controllers use inside out tracking, you will need to keep the ProSaber in front of you at all times for optimal tracking to prevent tracking loss. This may take some practice but you will get a feel for where you can have it and where you can't. Lastly, if you are using a Meta headset then disable hand tracking during use.
3. If you have difficulty securing your controllers and keeping them in the cup, even with wiping them down etc. try this method from community member Likon:
Tutorials
All the tutorials traditionally found on our website, pertaining to the ProSaber in alphabetical order
ProSaber Mounting EN
You got your hand on one of a ProSabers. With it, you will be able to play in Darth Maul mode in Beat Saber and similar games, or use it a paddle for kayaking.
 Mounting your ProSaber should take 10 minutes.
Make sure you work in a clear area and be very careful. Some parts can easily be lost.
Parts list
________________________________________________________________________________________________________________________________________________
| ProSaber bag |
||
 |
||
| x2 |
x2 |
x1 |
| Nut |
20mm screw |
Hex Key 0,4cm |
| Rest of the box |
||
 |
 |
 |
| x2 |
x1 |
x2 |
| Left & Right Fastened Cup |
Tube 300mm chrome or carbon |
Connection with internal notches |
Mounting
________________________________________________________________________________________________________________________________________________
|
|
|
| First, make sure you have everything you need to mount your ProSaber. | The screw needs to go on the cup and the nut on the internal notched connection. |


________________________________________________________________________________________________________________________________________________
|
|
|
| If you are having trouble inserting the screw on the cup, you can use the Hex key to screw it in. | The nut needs to go on the internal notched connection. |


________________________________________________________________________________________________________________________________________________
|
|
|
| Before tightening the screw, make sure it is aligned with the tube (example for Quest 2). It is preferable to put the controller in the cup to better realize this. | Tighten the screw using the provided Hex key. |


________________________________________________________________________________________________________________________________________________
|
|
|
| Make sure to tighten it strongly, so the cup won’t move at all. | Do this with the other cup. You now have a fully functioning ProSaber! |


________________________________________________________________________________________________________________________________________________

Finally, insert the controllers in the cups, make sure to push them
enough so they stay in. Enjoy this Darth Maul mod Saber.
Controllers Security
________________________________________________________________________________________________________________________________________________
|
|
|
|
| Pass the controller’s wrist strap into the cup’s hole. | The, around the controller. | And finally, under the cup. |


________________________________________________________________________________________________________________________________________________
|
|
|
| Use the slider to tighten it on the ProSaber. | Push the controller into the cup. The more you push, the more it stays in the cup. Be careful not to push too much, though. It might damage the controller and/or the cups. |


________________________________________________________________________________________________________________________________________________