| **Upgrade Parts** | **Tools bag** | ||||
|  |  |  |  |  | |
| x2 | x1 | x1 | x1 | x1 | |
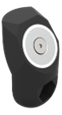
| Pair of controller holders (cups) | Notched retainer | Smooth Bracket | Hex Key 4mm | Hex Key 2,5mm | |
|  | ||
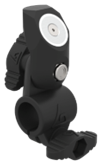
| What you need for the rear MagCup (medium tube): - 20 mm screw - 1 nut - 2 O-rings - Notched magnetic support - Magnetic cup | ||
| 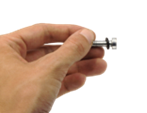 |  |
| Put the O-ring on the 20mm screw. | Pass the screw and O-ring through the notched magnetic support. |
|  |  |
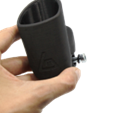
| Join the notched magnetic support and the T-notched connection and add the second O-ring. | Add the nut and tighten, the magnetic support must be able to move though. |
|  | ||
| What you need for the front MagCup (longer tube): - Smooth magnetic bracket - Magnetic cup | ||
|  |
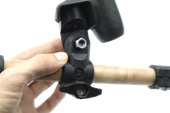
| Remove the old smooth 3D printed T-connection from the front longer tube. Replace it with the new magnetic bracket. The magnet must face the other way to the rear magnetic bracket (ex: to the left if you are right-handed). |
| 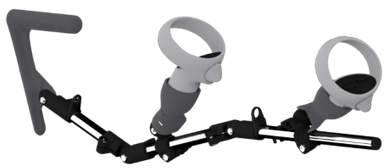 |
| You can now install your new magnetic controller holders (cups). **Congrats!** You now have a complete MagTube. |